
 Save
Save
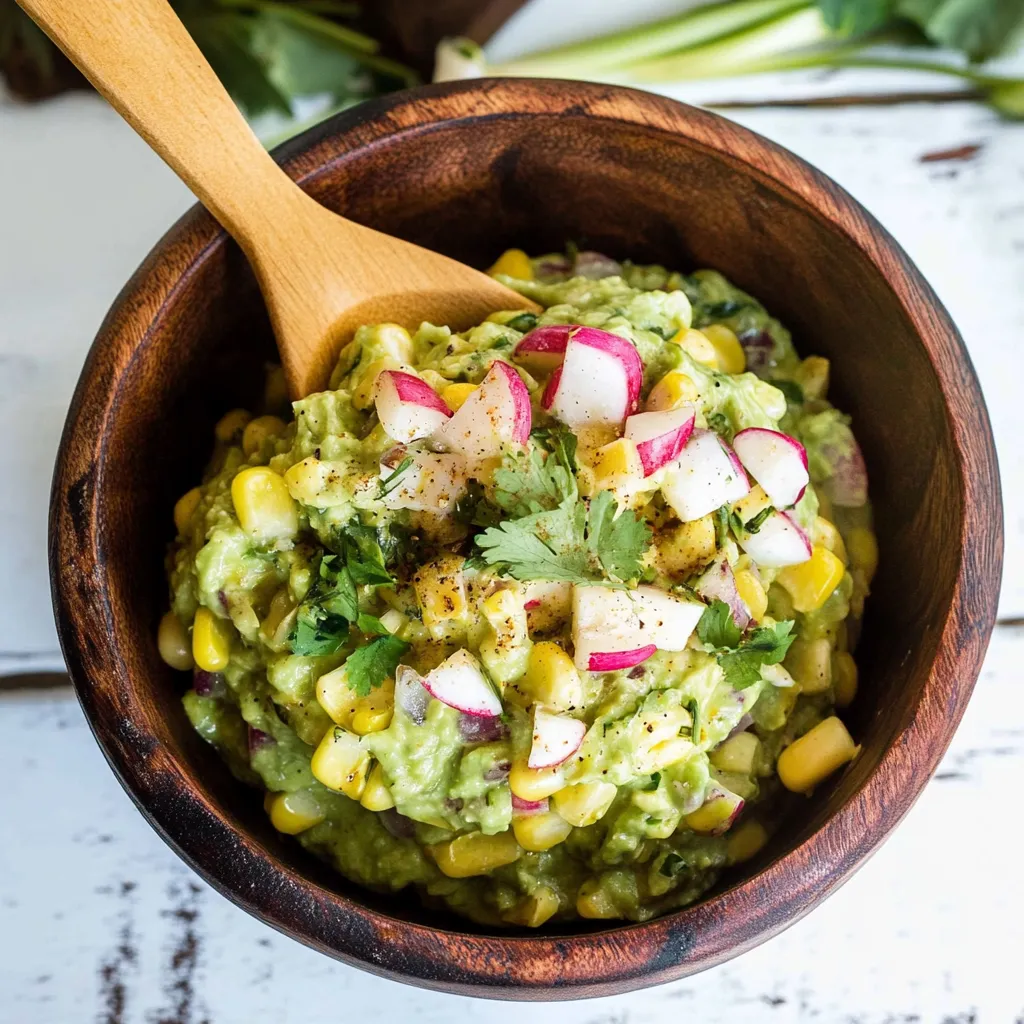
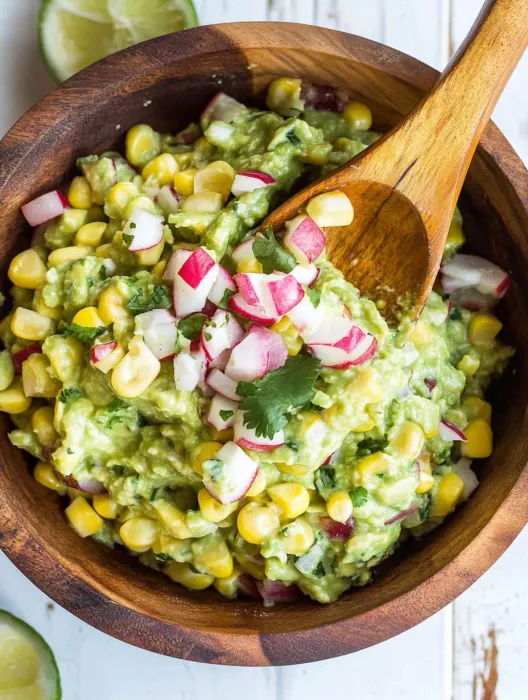
This hearty Roasted Hatch Chile Guacamole adds smoky depth and sweet crunch to the classic avocado dip, creating an irresistible appetizer that disappears in minutes at gatherings. The charred chiles and blistered corn elevate ordinary guacamole into something truly memorable.
I created this recipe after visiting New Mexico during Hatch chile season and becoming obsessed with incorporating their distinctive flavor into everything. Now this guacamole makes an appearance at nearly all our summer gatherings, especially when we fire up the grill.
Ingredients
- Fresh Hatch green chiles provide the signature smoky spice that makes this recipe special look for firm peppers with glossy skin
- Corn on the cob creates sweet pops of texture when blistered properly fresh is best when in season
- Ripe avocados form the creamy base choose ones that yield slightly to gentle pressure
- Red onion adds sharp contrast and beautiful color dice it very finely for best texture
- Fresh cilantro brings brightness and herbaceous notes use both leaves and tender stems
- Ground cumin seed introduces earthy warmth that complements the roasted chiles
- Fine sea salt enhances all the flavors kosher salt works well too
- Fresh lime juice provides essential acidity to balance the richness of avocado
Step-by-Step Instructions
- Broiler Setup
- Position an oven rack in the highest position and preheat your broiler to high. This ensures proper charring of the chile skins which is essential for developing that distinctive smoky flavor. The proximity to the heating element is crucial for quick blistering without overcooking the chiles.
- Prepare Chiles
- While wearing protective gloves to prevent irritation from oils, cut the tops off your Hatch chiles and halve them lengthwise. Remove all seeds for milder flavor, and for even less heat, carefully cut away the white membranes. The heat level varies significantly between Hatch chiles, so taste a tiny bit raw if unsure about spice tolerance.
- Char The Peppers
- Line a sheet pan with foil for easy cleanup and arrange chile halves in a single layer with skin side up. Broil until skins blacken and blister completely, about 10 minutes. Move the pan around occasionally to ensure even charring. The peppers should soften but not completely collapse.
- Steam The Peppers
- Transfer the hot charred peppers immediately to a plastic bag or covered bowl and seal. Allow them to steam for 15 minutes which loosens the skins and makes them easier to remove. This step is essential for proper texture and flavor development.
- Peel And Dice
- Wearing gloves again, gently rub away as much of the blackened skin as possible. Some bits may remain which is fine. Dice the peeled chile flesh into small pieces, keeping them separate until final assembly so you can control the heat level.
- Blister The Corn
- Hold corn directly over a gas flame using tongs, rotating to char the kernels on all sides. Alternatively, heat a cast iron skillet until smoking hot and roll corn to blister the exterior. The goal is charred exterior with kernels that remain crisp. Cool completely before cutting from cob.
- Create Base Guacamole
- In a medium bowl, mash avocados to desired consistency. Stir in diced onions, ground cumin, salt, and half the lime juice until well combined. The base should taste bright and well seasoned before adding the star ingredients.
- Add Roasted Chiles
- Start by incorporating just half of your diced chiles, beginning with about 3 tablespoons. Taste and add more gradually until you achieve your preferred heat level. This methodical approach prevents accidentally making the guacamole too spicy.
- Incorporate Corn
- Cut the blistered kernels from the cob using a sharp knife. Gently fold the charred corn into the guacamole, being careful not to overmix which would make the dip too homogenous. The distinct pops of corn create textural interest.
- Final Adjustments
- Taste once more and adjust salt and lime juice as needed. The flavors should be bold and balanced, with no single element dominating. Serve immediately or cover tightly with plastic wrap pressed directly on the surface to prevent browning.
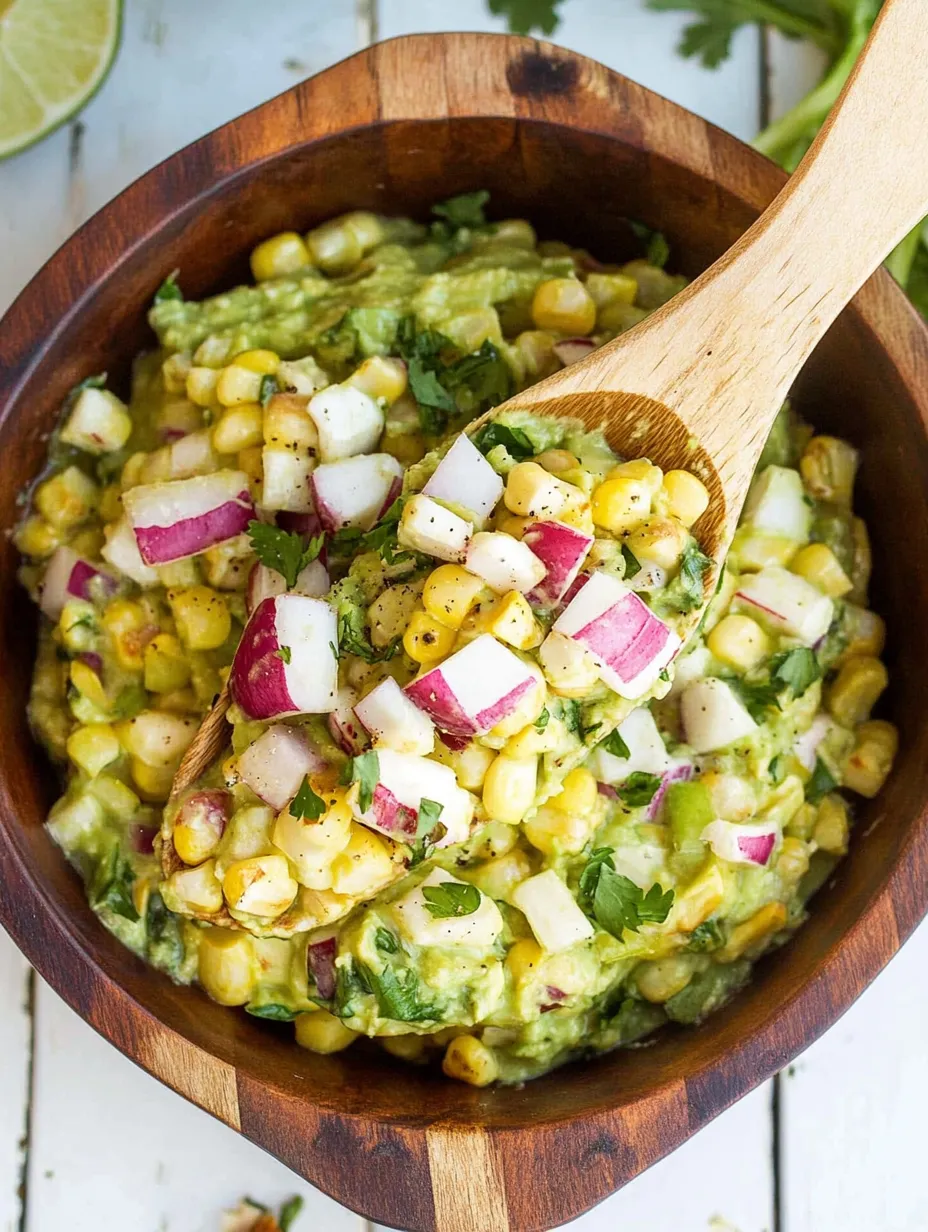
The blistered corn is the secret hero of this recipe. While people expect the chiles to deliver flavor, the sweet charred pops of corn create an unexpected texture that makes everyone ask for the recipe. I discovered this combination accidentally when I had leftover grilled corn and have never made guacamole without it since.
Preventing Browning
Oxygen is the enemy of fresh guacamole, causing that unappetizing brown layer on top. To keep your guacamole vibrant green, press plastic wrap directly against the surface, eliminating air contact. A thin layer of lime juice or water on top also works effectively as a barrier. For longer storage, transfer to an airtight container with minimal headspace before sealing. Even with these precautions, this guacamole is best enjoyed within 24 hours of preparation.
Heat Level Customization
The beauty of this recipe lies in its adaptability to your spice preference. For mild guacamole suitable for children or heat-sensitive guests, use only Anaheim chiles and remove all membranes and seeds. Medium heat comes from standard Hatch chiles with seeds removed. For a fiery version that will satisfy heat seekers, keep some seeds and membranes intact and use hot Hatch varieties. Always taste your chiles before adding them—their heat can vary dramatically even within the same variety and growing season.
Serving Suggestions
This guacamole deserves better than ordinary tortilla chips! Try serving with freshly fried flour tortilla strips, jicama sticks for a refreshing crunch, or even grilled bread rubbed with garlic. As a meal component, spoon it generously over grilled fish tacos, use as a spread on burgers, or create a Southwestern breakfast by topping avocado toast with a dollop of this guacamole and a poached egg. For an impressive appetizer spread, pair with queso fundido and fresh salsa for a complete Mexican-inspired trio.
Recipe FAQs
- → What can I substitute for Hatch chiles?
If Hatch chiles aren't available, you can substitute Anaheim/California chiles for a mild to medium heat level. Canned fire-roasted Hatch chiles or other canned green chiles also work well. Poblano peppers are another excellent alternative that provide similar smoky flavor.
- → How do I know when my chiles are properly roasted?
Chiles are properly roasted when their skins are blackened and blistered, and the flesh has begun to soften, typically after about 10 minutes under the broiler. Placing them in a sealed bag or covered bowl afterward helps steam the skins loose for easier removal.
- → Can I make this guacamole ahead of time?
While best enjoyed fresh, you can prepare this guacamole up to 24 hours ahead. To prevent browning, press plastic wrap directly onto the surface of the guacamole, squeezing out any air bubbles, and store in the refrigerator. The lime juice also helps slow oxidation.
- → Why should I wear gloves when handling the chiles?
Chiles contain oils (capsaicin) that can cause skin irritation and burning sensations. These oils can transfer from your hands to your eyes or other sensitive areas, causing significant discomfort. Wearing gloves prevents direct contact with these oils.
- → How can I adjust the heat level of this guacamole?
Control the heat by adjusting the amount of chile you add. For milder flavor, remove all seeds and membranes before roasting, and start with a smaller amount of diced chile. For more heat, leave some membranes intact and use more of the roasted chiles in your final mix.
- → What can I use instead of fresh corn?
If fresh corn isn't available, frozen or canned corn makes a good substitute. For best flavor, drain canned corn thoroughly and sear it in a very hot cast iron skillet to create similar charred, blistered edges that mimic the flavor of flame-roasted fresh corn.