
 Save
Save
This artisan bread has revolutionized my home baking. The simple technique produces bakery-quality results with minimal effort, making it perfect for both beginners and experienced bakers who appreciate efficiency.
I first made this bread during a particularly busy week when I needed something impressive but had zero time to spend in the kitchen. The results were so remarkable that it's become my go-to recipe whenever guests are coming over.
Ingredients
- All purpose flour or bread flour provides the structure choose unbleached for best flavor
- Kosher salt enhances the flavor and strengthens the gluten network
- Instant or active dry yeast creates those beautiful air pockets either type works perfectly
- Warm water activates the yeast ensure it's about 105°F not hotter or you'll kill the yeast
Step-by-Step Instructions
- Mix the Dough
- Combine flour salt and yeast in a large bowl. Pour warm water over the ingredients and stir until fully incorporated. The mixture should be slightly sticky but manageable. If it feels excessively sticky add small amounts of flour until workable. Cover with a towel or plastic wrap and let rest for 2 to 10 hours. The longer it rests the more complex the flavor becomes.
- Shape the Loaf
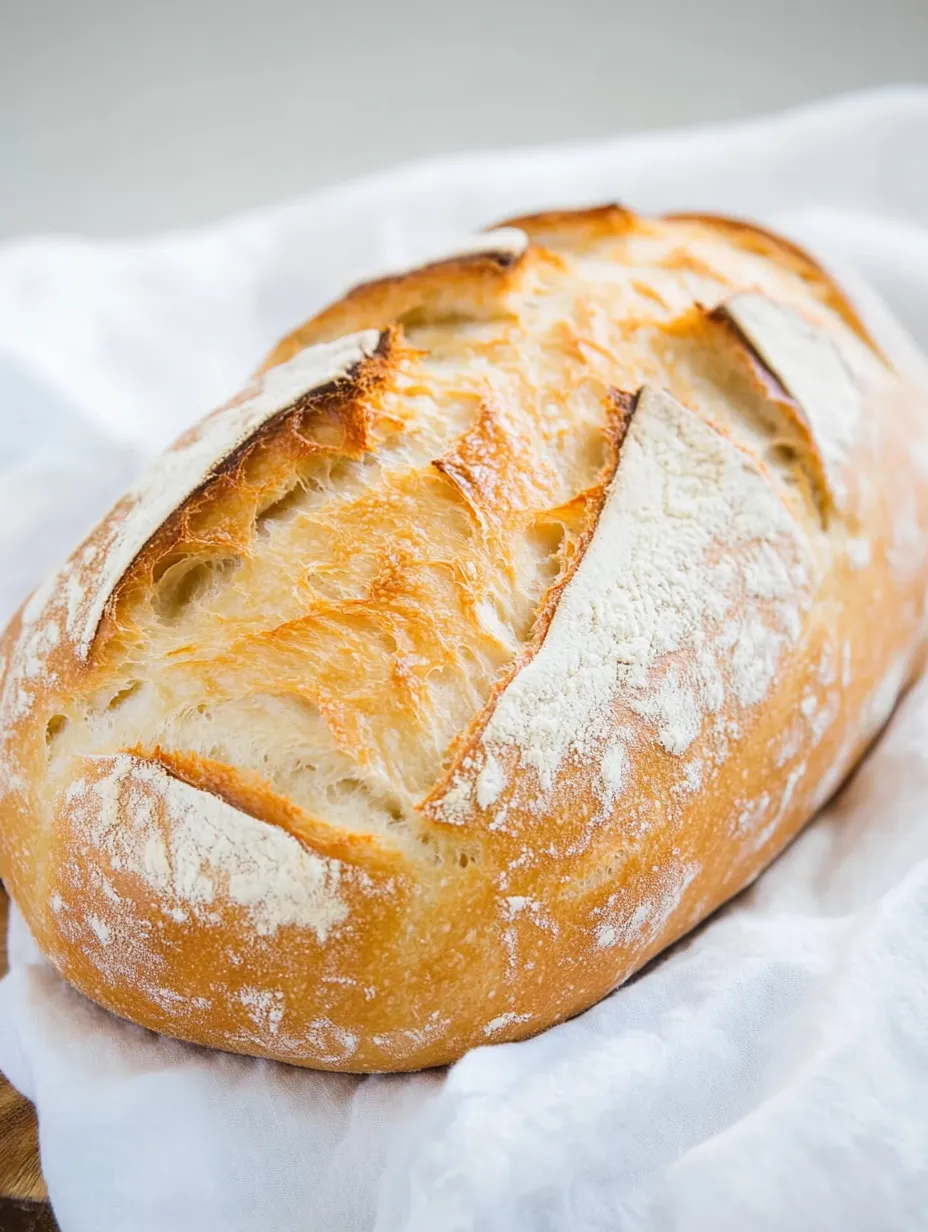
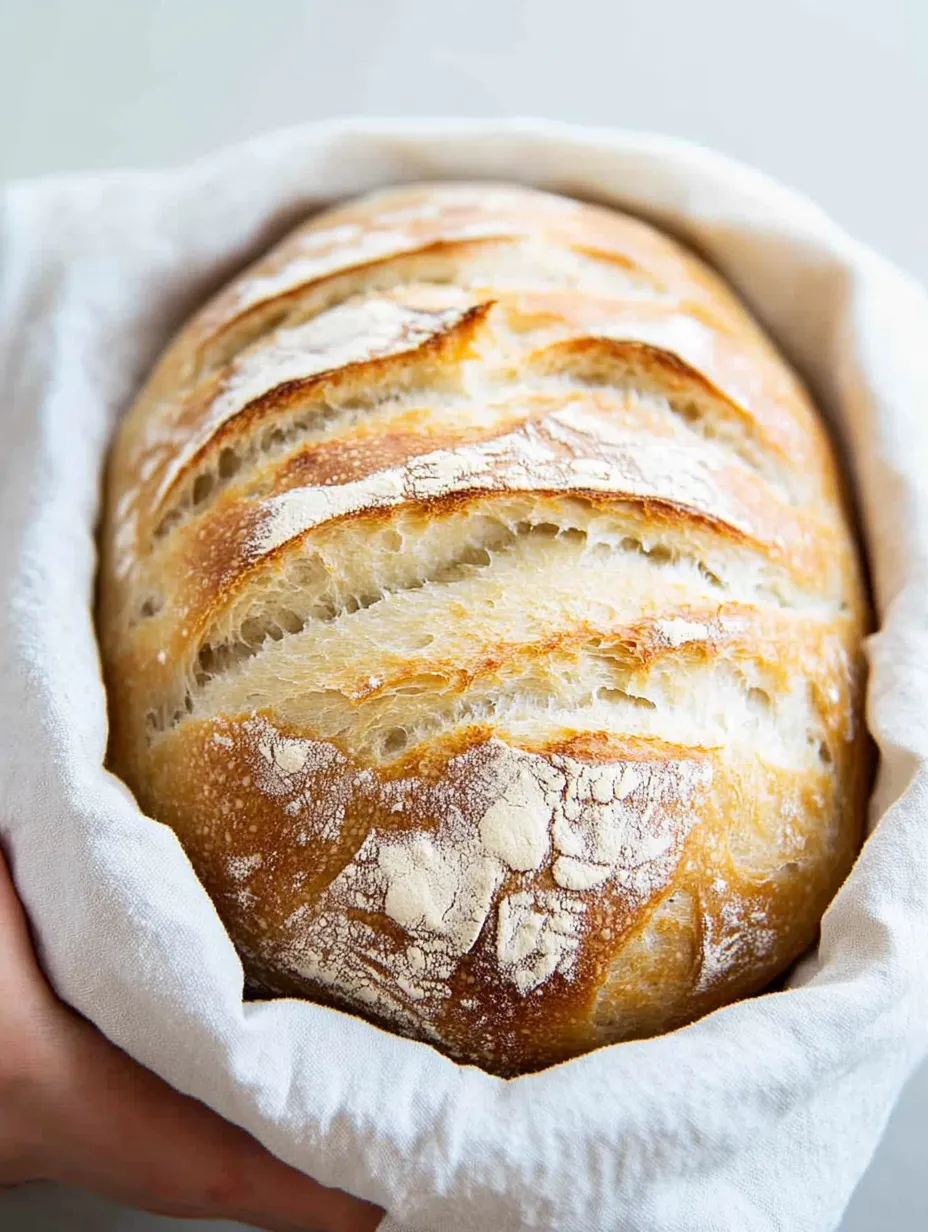
- With wet hands gently transfer the dough to a lightly floured surface without punching it down. Preserve those precious air bubbles. Carefully fold the edges toward the center to create your desired shape either a round boule or two smaller loaves. Place on parchment paper dust with flour and score the top with a sharp knife. Let rest for another 20 to 30 minutes while the oven preheats.
- Bake to Perfection
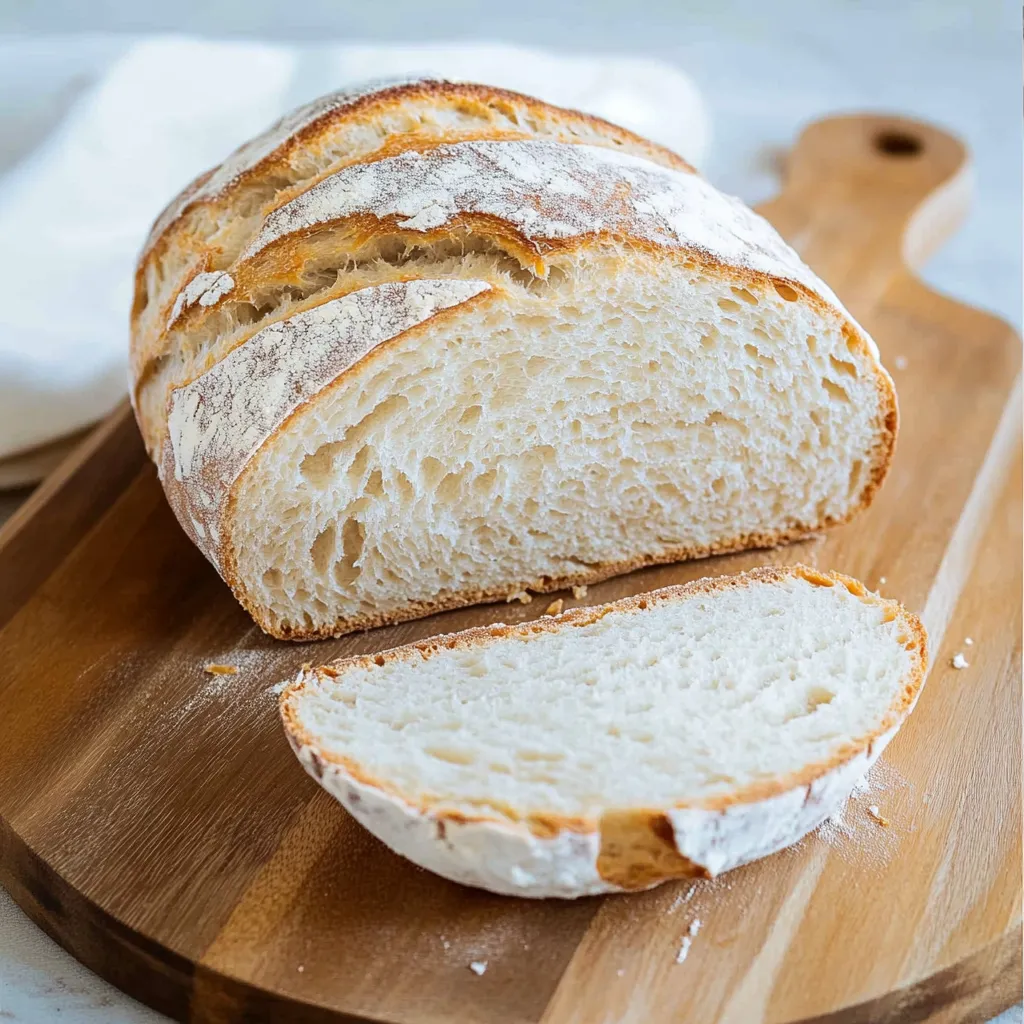
- Place a baking stone pizza stone dutch oven or cast iron skillet in the oven and preheat to 450°F. When hot slide the dough with parchment paper onto the preheated surface. For extra crustiness add hot water to a broiler pan or ice cubes to the oven floor to create steam. Bake for 25 to 30 minutes until deeply golden brown. Cool completely on a rack before slicing.
The moment of scoring the dough before baking is my favorite part of this process. I find something deeply satisfying about making those decisive cuts across the top knowing they'll transform into beautiful cracks revealing the bread's interior during baking. My children now recognize the distinctive sound of this bread's crust crackling as it cools and come running to the kitchen.
Perfect Timing Options
This bread adapts to your schedule rather than the other way around. For a quick same day bread allow it to rise for just 2 hours at room temperature. The texture will be lighter with a milder flavor. For more developed flavor let it rise overnight about 8 to 12 hours on your counter. The extended fermentation creates more complex flavors and a chewier texture with larger air pockets throughout the crumb.
Troubleshooting Common Issues
Dough too sticky? This is actually normal for this type of bread but if it's unmanageable add flour a tablespoon at a time until you can work with it. Alternatively refrigerate the dough for 30 minutes to make it easier to handle.
Not crusty enough? The steam method is crucial for developing that artisan crust. Ensure your oven is properly preheated and your baking surface is thoroughly hot before adding the dough. The water or ice cube method creates the steam environment that commercial bakeries achieve with special ovens.
Dense texture? This usually indicates either insufficient rising time or too much flour added during shaping. Be patient with the rise and handle the dough very gently to preserve air bubbles.
Serving Suggestions
This bread shines when served slightly warm alongside soups and stews. The crisp exterior and tender interior make it perfect for dipping. For a simple but impressive appetizer serve thick slices with good quality olive oil and flaky sea salt. Leftover bread makes exceptional homemade croutons or breadcrumbs that far surpass store bought versions.
Recipe FAQs
- → How long should I let the dough rise?
You can let the dough rise anywhere from 2-10 hours at room temperature, or overnight on the counter. For a longer fermentation, refrigerate for up to a week. The longer it rises, the chewier and more flavorful the bread will be due to the fermentation process.
- → Can I make smaller loaves with this dough?
Yes! You can split the dough in half to make two smaller 9-inch loaves instead of one large boule. Shape each half as directed and bake on parchment paper until golden brown.
- → What if my dough is too sticky to shape?
If the dough feels too sticky to handle, add a little more flour at a time until manageable. Alternatively, cover the bowl tightly with plastic wrap and refrigerate for about 30 minutes, which will make the dough easier to handle without adding more flour.
- → How do I get a crispy crust?
For an extra-crispy crust, create steam in the oven by placing either 1 cup of hot water in a small broiler pan or 5 ice cubes in the bottom of the oven when you put the bread in. Close the door quickly to trap the steam, which helps develop that professional bakery-style crust.
- → What's the best way to store this bread?
Once completely cooled, store the bread in a paper bag on the counter for up to 3 days to maintain its crispy crust. Plastic bags will soften the crust. For longer storage, place in a freezer-safe bag and freeze for up to 3 months. Thaw at room temperature when ready to enjoy.
- → Can I use different types of flour?
Yes, you can use either all-purpose flour or bread flour for this recipe. Bread flour will give you a slightly chewier texture with more gluten development, while all-purpose flour works perfectly for a softer crumb structure.