
 Save
Save
This Blackstone Pizza has revolutionized my family's homemade pizza nights with its perfect combination of crunchy exterior and soft, flavorful interior. The outdoor griddle creates that restaurant-quality crust that's nearly impossible to achieve in a standard home oven.
I stumbled upon this method during a summer when our kitchen was too hot for the oven. Now my kids specifically request "dad's Blackstone pizza" over any delivery option we could order.
Ingredients
- Pre-made 12" Pizza Crust Provides the perfect base without the fuss of making dough from scratch. Look for ones with minimal ingredients for best flavor.
- Pizza Sauce The foundation of flavor. Choose a thick sauce that won't make your crust soggy.
- Mozzarella Cheese Fresh shredded works best as it melts more evenly than pre-packaged. For extra flavor, mix in a small amount of provolone.
- Pepperoni Opt for thicker cut pepperoni that will curl into little flavor cups when cooked.
- Italian Sausage Adds savory depth and protein. Choose a high quality sausage with visible herbs and spices.
- Red Onion Provides a sweet bite when cooked. Slice them thin so they cook quickly.
- Bell Peppers Adds color and freshness. The combination of red and green gives both sweetness and earthy flavor.
Step-by-Step Instructions
- Preheat the Blackstone
- Turn your Blackstone to medium high heat reaching approximately 350 degrees F. Allow at least 10 minutes for the surface to become evenly hot across all cooking zones.
- Prepare Toppings
- Brown the sausage directly on the Blackstone surface until fully cooked with no pink remaining. While the sausage cooks, add vegetables to another section of the griddle, sautéing them for 5 to 6 minutes until they become soft but still retain some texture. Quickly heat pepperoni slices for just 30 seconds per side to render some fat and enhance flavor.
- Assemble Pizzas
- Spread approximately 1/3 cup pizza sauce in a thin layer on each pre-made crust, leaving a small border around the edge. Distribute mozzarella cheese evenly across the sauce. Add your cooked toppings strategically for balanced flavor in every bite. Assemble on a cutting board or pizza peel for easy transfer.
- Cook the Pizzas
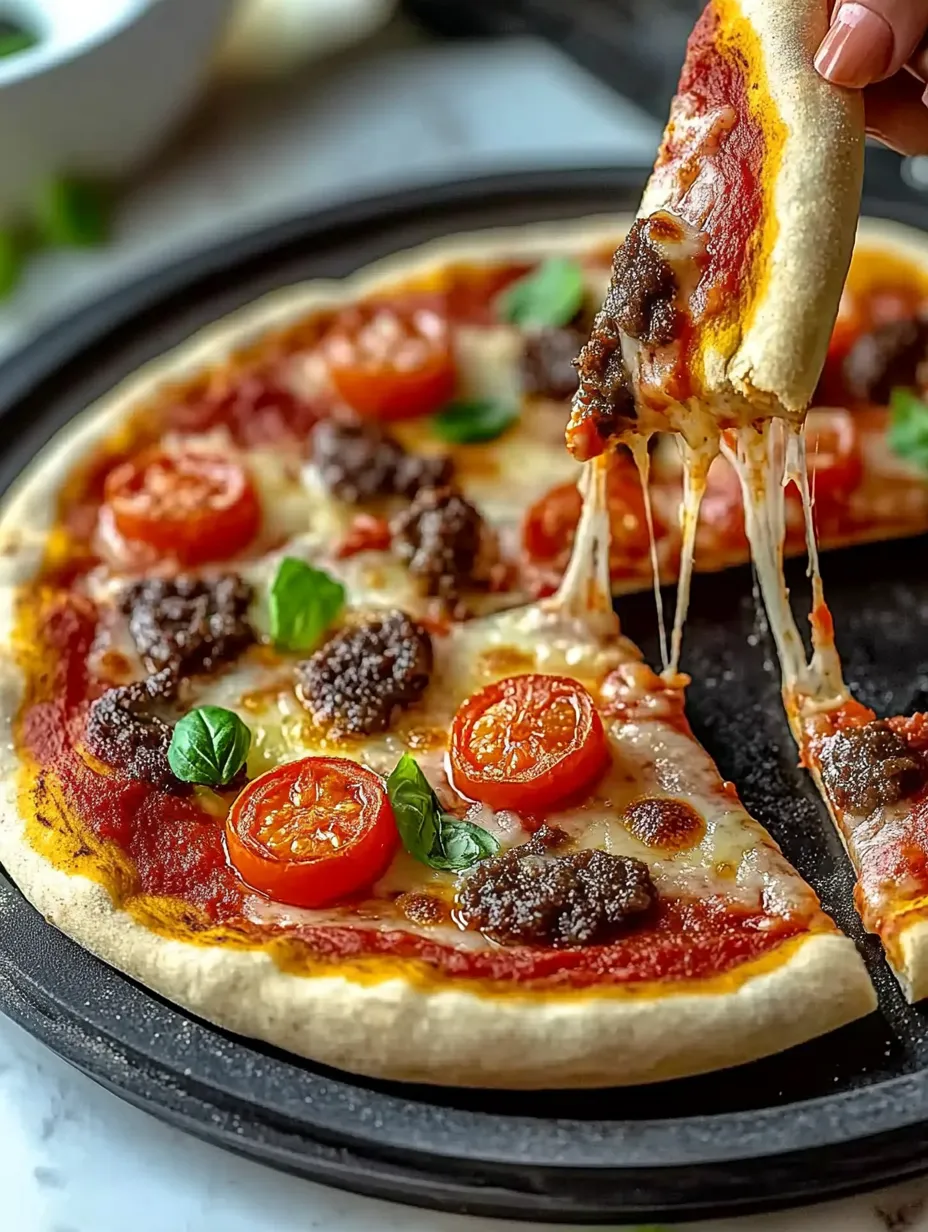
- Carefully slide the prepared pizzas directly onto the Blackstone surface. Cover with a dome lid if you have one to create oven-like conditions. Cook for 6 to 12 minutes, checking occasionally until the bottom crust turns golden brown and cheese completely melts and begins to bubble.
- Rest and Serve
- Remove pizzas using a large spatula and transfer to a cutting board. Allow them to rest for 2 to 3 minutes before slicing to let the cheese set slightly. Cut into slices and serve immediately while hot.
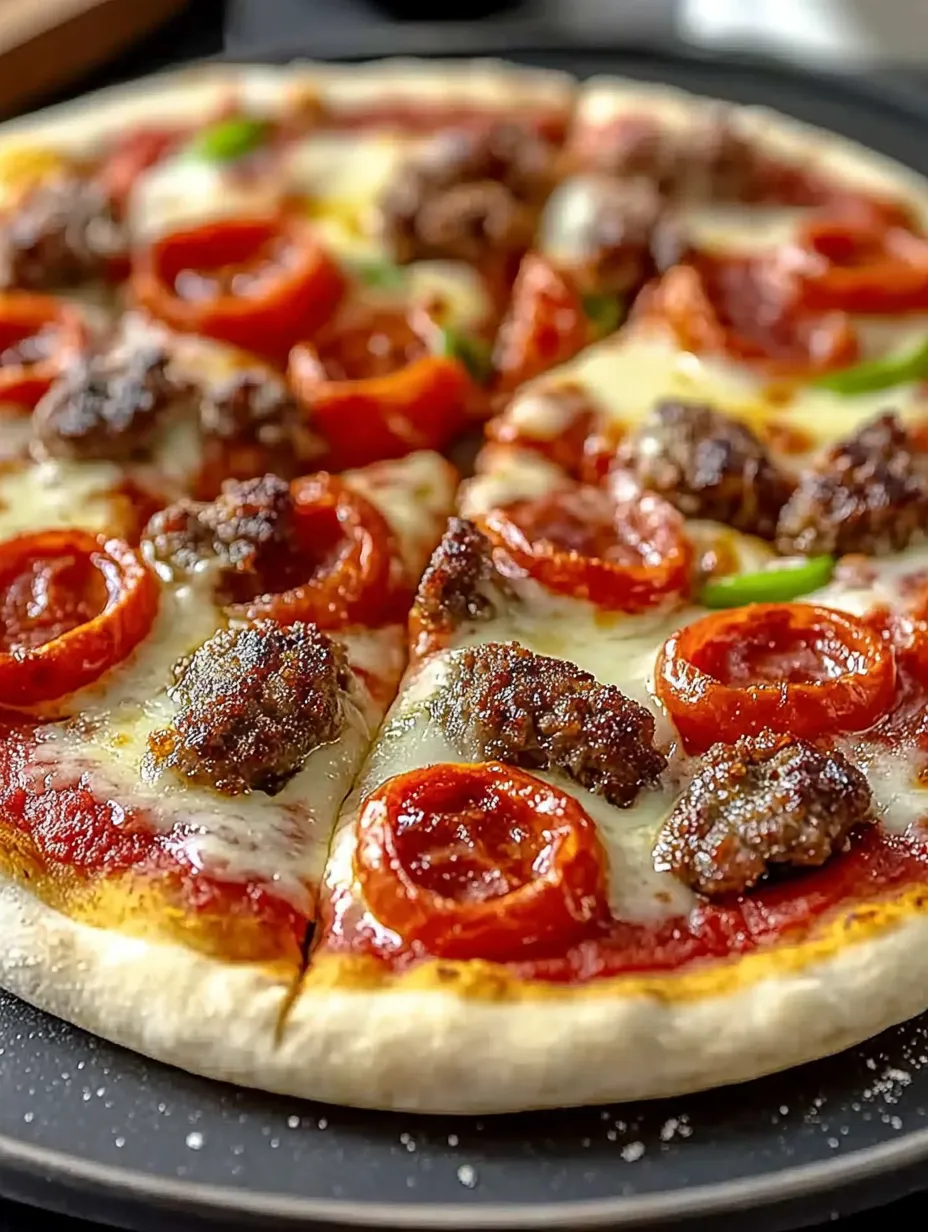
The sausage truly makes this pizza special for me. I discovered through many tests that browning it separately rather than adding it raw creates those crispy caramelized bits that add incredible texture and flavor to each bite. My son always picks those pieces off first!
Make-Ahead Options
These Blackstone pizzas are perfect for meal prep. You can prepare all your toppings up to two days in advance and store them separately in the refrigerator. When ready to cook, simply assemble and grill as directed. This cuts your active cooking time down to just about 15 minutes total.
Topping Variations
The beauty of this Blackstone pizza method lies in its versatility. Try a white pizza with olive oil base, ricotta, and spinach. For meat lovers, add crispy bacon, ham, and additional sausage. My personal favorite combination includes prosciutto added after cooking, fresh arugula, and a drizzle of high-quality balsamic glaze that I discovered at a local Italian market.
Serving Suggestions
Elevate your pizza night by serving with a simple arugula salad dressed with lemon and olive oil to cut through the richness. For appetizers, grill some vegetables on the Blackstone before cooking the pizzas. The slightly charred flavor complements the meal perfectly. Consider setting up a pizza bar where family members can customize their portions with additional fresh herbs, red pepper flakes, or grated parmesan.
The History Behind Griddle Pizzas
While pizza stones and wood-fired ovens get most of the attention, cooking pizzas on griddles has a rich history in street food cultures across Italy and America. The flat top cooking surface actually mimics the cooking technique used in many traditional pizzerias, where the dough makes direct contact with an extremely hot surface. This Blackstone method brings that authentic technique into your backyard.
Recipe FAQs
- → What temperature should my Blackstone griddle be for cooking pizza?
Preheat your Blackstone griddle to medium-high heat, approximately 350°F (175°C). This temperature allows the crust to cook through and get crispy without burning, while ensuring the cheese melts perfectly.
- → Can I use homemade pizza dough instead of pre-made crusts?
Yes! While this version uses pre-made 12" crusts for convenience, you can absolutely use homemade pizza dough. Just ensure it's rolled thin and partially pre-baked before adding toppings and placing on the griddle.
- → How do I prevent my pizza from sticking to the Blackstone griddle?
Make sure your griddle is properly seasoned before cooking. You can also lightly oil the surface before placing the pizza down. Using a pizza peel or large spatula helps slide the pizza onto the cooking surface and remove it when done.
- → What other toppings work well for Blackstone pizza?
Almost any traditional pizza topping works great! Try mushrooms, olives, pineapple, bacon, chicken, different cheeses like feta or goat cheese, or fresh herbs. For best results, pre-cook raw meat toppings and vegetables that release a lot of moisture.
- → Do I need to close the lid when cooking pizza on a Blackstone?
Yes, closing the lid is important as it creates an oven-like environment that helps melt the cheese and cook the toppings evenly. Without the lid, the bottom might burn before the top is properly cooked.
- → How do I know when my Blackstone pizza is done?
Your pizza is done when the bottom of the crust is golden brown and crispy, the cheese is completely melted, and any toppings are heated through. This typically takes 6-12 minutes depending on your griddle's temperature and the thickness of your toppings.