
 Save
Save
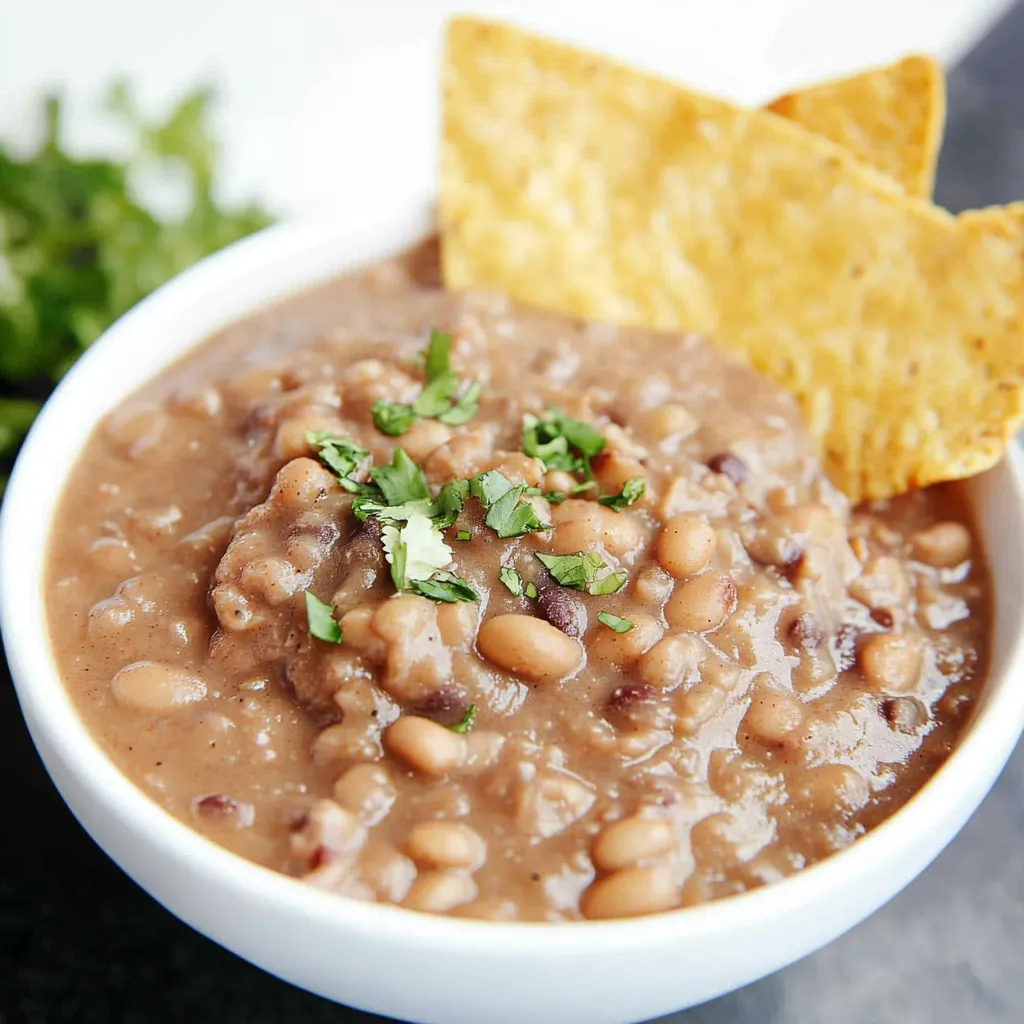
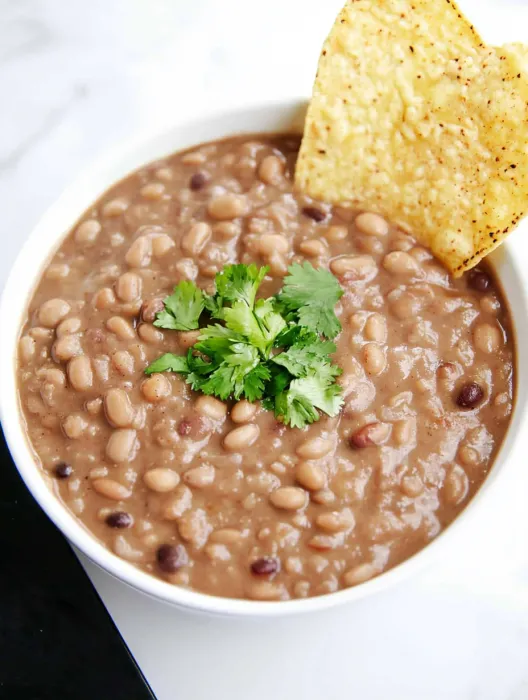
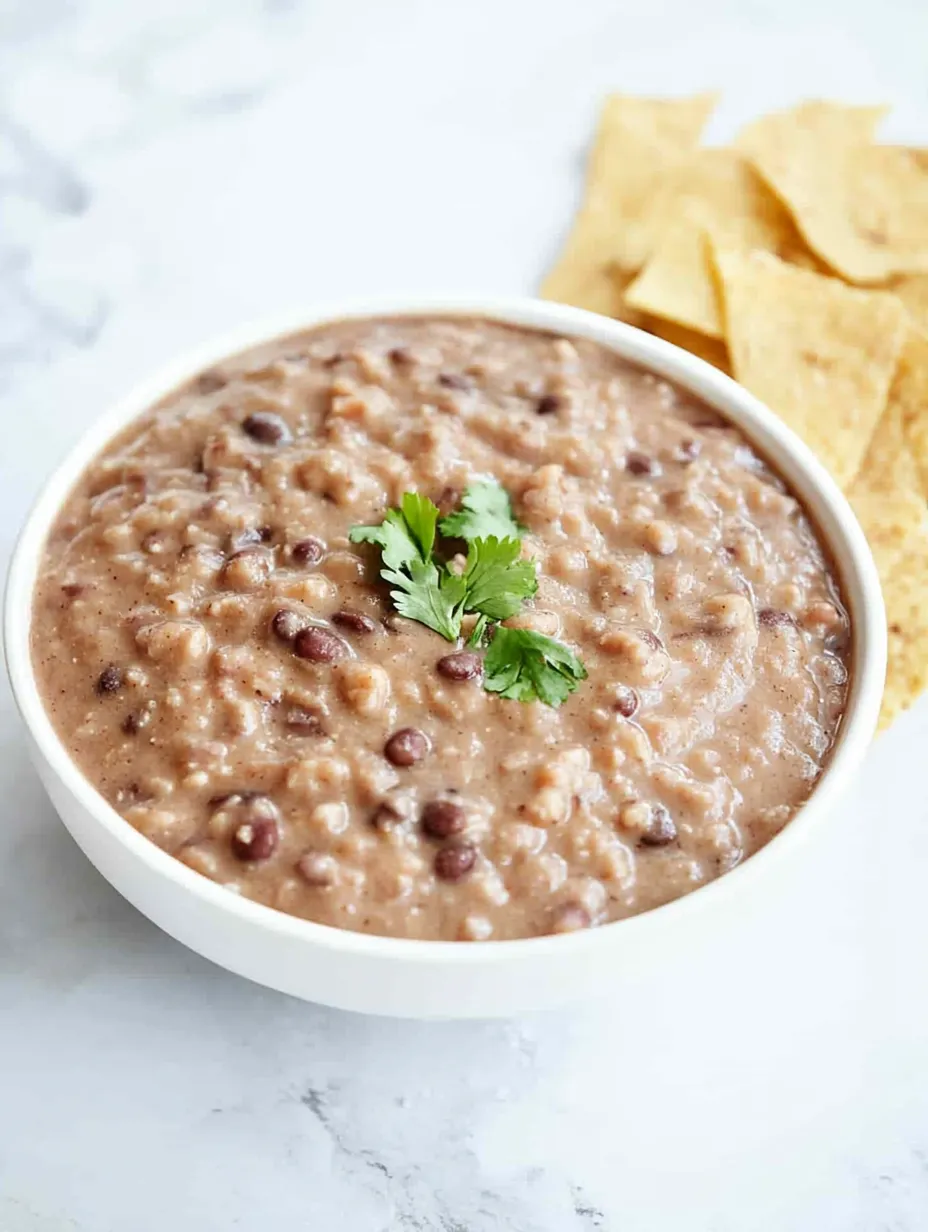
This homemade refried beans recipe transforms humble canned beans into a creamy, flavorful side dish that rivals any restaurant version. My family requests these beans weekly because they complement practically any Mexican-inspired meal with minimal effort.
I discovered this shortcut method during a busy weeknight when I forgot to soak dried beans. What started as a kitchen emergency has become our family favorite that guests always request the recipe for after dinner.
Ingredients
- Olive oil or lard provides the rich base flavor crucial for authentic taste without excess fat
- Garlic cloves add aromatic depth that canned refried beans often lack
- Fine sea salt enhances all flavors while letting you control sodium content
- Chili powder brings gentle warmth and classic Mexican character
- Canned pinto beans offer convenience without sacrificing texture
- Water helps achieve the perfect creamy consistency
- Optional lime juice brightens the entire dish with citrus notes
- Shredded cheese melts beautifully for added richness
- Fresh cilantro adds color and herbaceous freshness
Step-by-Step Instructions
- Create the Flavor Base
- Heat olive oil in a medium saucepan over medium heat until shimmering but not smoking. Add minced garlic, salt, and chili powder, stirring constantly for exactly one minute. This blooms the spices and infuses the oil with flavor without burning the garlic.
- Warm the Beans
- Add your canned pinto beans to the fragrant oil mixture. I recommend leaving the liquid from one can and draining the other for perfect consistency. Pour in water, cover the pot and allow beans to heat thoroughly for 5 minutes, which softens them for easier mashing.
- Achieve Perfect Texture
- Reduce heat to low and remove the lid. Using a potato masher, press down on beans with a gentle rocking motion until reaching your desired consistency. Some prefer completely smooth beans while others enjoy small chunks for textural contrast. Add water tablespoon by tablespoon if mixture seems too thick.
- Final Seasoning
- Remove from heat and taste test carefully. Add additional salt if needed or any optional ingredients like lime juice, cheese or cilantro. The beans will continue to thicken slightly as they cool, so factor this into your final consistency adjustments.
My absolute favorite way to serve these is in breakfast tacos with scrambled eggs and avocado. Something about the creamy beans against fluffy eggs creates the perfect breakfast combination that keeps me satisfied until lunch. My husband started requesting this weekend breakfast after trying it at our favorite taqueria.
Perfect Bean Selection
The type of canned beans you select significantly impacts your finished dish. Look for low sodium varieties when possible, as this allows you to control the seasoning perfectly. Premium brands often have beans that hold their shape better and have fewer broken pieces, creating a more consistent texture when mashed. I personally prefer organic pinto beans for their slightly nuttier flavor profile and find they create a creamier final product.
Making Ahead and Storage Tips
These refried beans actually improve with time as flavors meld together. Make them up to three days ahead and refrigerate in an airtight container. They will thicken considerably when chilled, so when reheating, add a splash of water or broth and stir frequently over low heat. For longer storage, freeze portions in silicone molds or ice cube trays, then transfer frozen beans to freezer bags. This allows you to thaw only what you need for up to three months without quality loss.
Customizing Your Beans
The beauty of homemade refried beans lies in their adaptability. Create smoky beans by adding a half teaspoon of smoked paprika or chipotle powder. For a protein boost, stir in a quarter cup of cooked quinoa after mashing. Vegetable lovers can finely dice bell peppers and carrots to sauté with the garlic at the beginning. My family enjoys a version with green chiles and pepper jack cheese folded in at the end. Let your creativity guide your additions based on what complements your main dish.
Authentic Mexican Context
Traditional Mexican refried beans typically use dried beans cooked slowly with onions and lard. While this recipe takes shortcuts, the technique of frying mashed beans remains authentic to Mexican cooking traditions. In many regions of Mexico, refried beans are served at nearly every meal as a staple protein source. The term refried is actually a mistranslation from the Spanish refrito, which means well fried rather than fried twice. Understanding this cultural context helps appreciate how this humble dish became so central to Mexican cuisine.
Recipe FAQs
- → Do I need to drain the canned beans before making refried beans?
You can use a mix of drained and undrained beans. The recipe suggests leaving one can with its liquid and draining the other. The bean liquid adds flavor and helps create the creamy texture, but you can adjust based on your consistency preference.
- → How can I make these refried beans spicier?
To increase the spice level, add extra chili powder to taste. You can also add ground cumin for more depth of flavor or include a pinch of cayenne pepper. Adjusting seasonings at the end allows you to reach your preferred spice level.
- → Can I use beans other than pinto beans?
Yes, black beans work well as a substitute for pinto beans. The cooking process remains the same, though you may need to adjust the water amount to about 1/2 cup if using drained and rinsed beans.
- → What's the best way to achieve the right consistency?
Use a potato masher or fork for a chunkier texture, or an immersion blender for smoother beans. If the mixture is too thick, add small amounts of water. If too thin, continue simmering to allow excess moisture to evaporate.
- → How should I store leftover refried beans?
Store in an airtight container in the refrigerator for up to 5 days. When reheating, add 1-2 tablespoons of water if the beans seem dry, then heat in the microwave or stovetop until warmed through.
- → What can I serve with these refried beans?
These beans pair perfectly with tacos, burritos, enchiladas, or as part of a Mexican rice bowl. They also make an excellent dip for tortilla chips or can be spread inside quesadillas for extra flavor and protein.