
 Save
Save
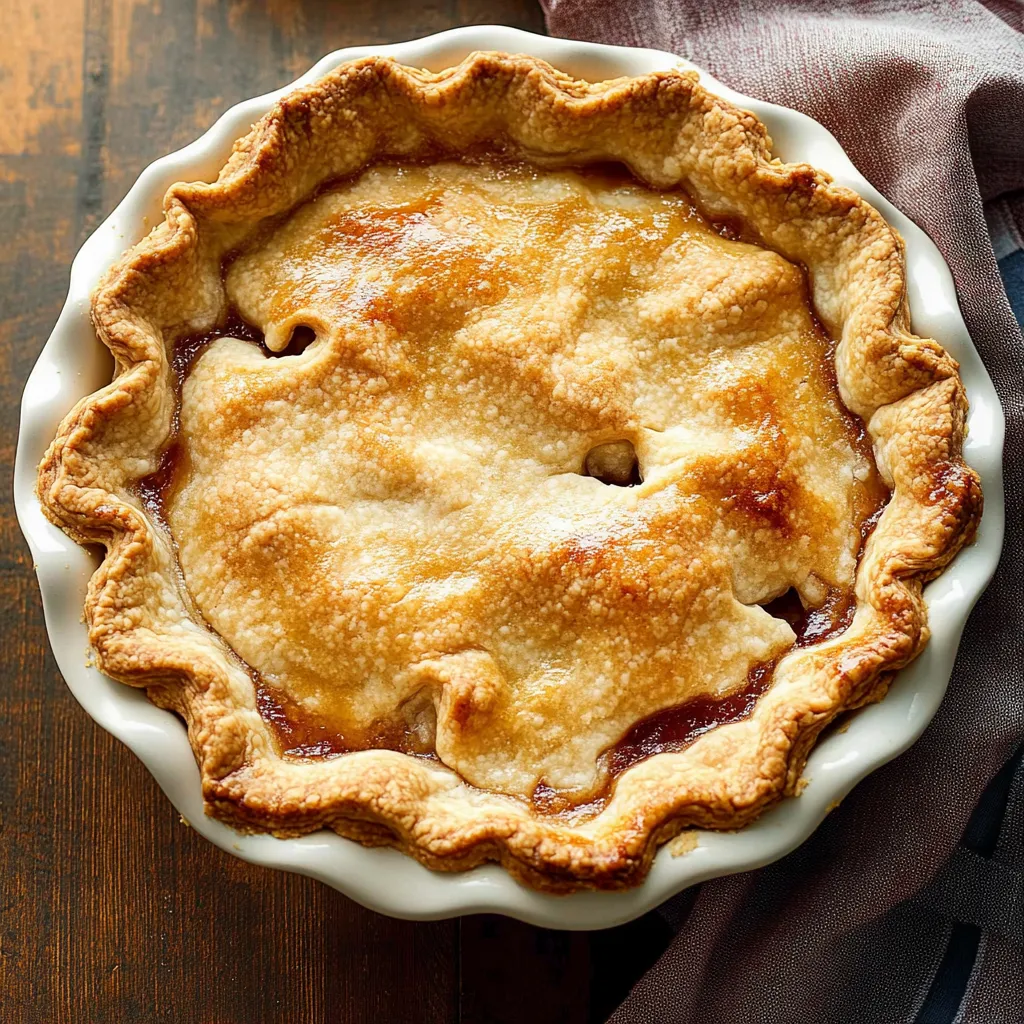
This hearty Crisco pie crust recipe has been passed down through generations in my family, creating the foundation for countless memorable desserts and savory pies. The secret to its incredible flakiness lies in the careful handling of cold ingredients and minimal mixing.
I learned this recipe watching my grandmother's hands work the dough each Thanksgiving. The way she effortlessly created perfect crusts for both her legendary apple and pumpkin pies from the same batch of dough amazed me, and now I carry on her tradition.
Ingredients
- 3 cups all-purpose flour provides the structure while keeping the crust tender
- 1 teaspoon salt enhances all the flavors without making the crust taste salty
- 2 tablespoons sugar adds gentle sweetness for dessert pies omit for savory applications
- 1 cup cold vegetable shortening creates those beautiful flaky layers we all crave
- ½ cup plus 2 tablespoons ice water helps bind the dough without activating too much gluten
Step-by-Step Instructions
- Combine Dry Ingredients
- In a medium bowl, thoroughly mix the flour, salt, and sugar if making a sweet pie. The sugar not only adds sweetness but helps with browning when baked. For savory pies, simply leave out the sugar to let your filling flavors shine.
- Cut In The Shortening
- Add cold shortening to your flour mixture. Using a pastry cutter or fork, work the shortening into the flour until you see pieces the size of large peas. These pea-sized shortening bits create pockets of steam during baking, resulting in those gorgeous flaky layers.
- Add Water Carefully
- Pour in the ice water and mix gently with a rubber spatula. The dough should just barely start coming together in a shaggy mass. Add additional water only one teaspoon at a time if the mixture seems too dry. The right consistency feels moistened but not sticky or wet.
- Form The Dough
- With a light touch, press the dough together just until it holds. Resist the urge to overwork it here. The less you handle the dough, the more tender your crust will be. This is where many bakers go wrong by mixing too long.
- Chill The Dough
- Divide the dough into two equal portions and shape each into a disc. Wrap each disc in plastic and refrigerate for at least 30 minutes or up to two days. This critical resting period relaxes the gluten and firms up the fat, resulting in a more cooperative dough when rolling.
My grandmother taught me that the key ingredient isn't listed in the recipe at all—it's patience. "Never rush a pie crust," she'd say as she gently worked the dough. "The pie knows when you're in a hurry and will fight you every step of the way." Those words ring true every time I make this recipe.
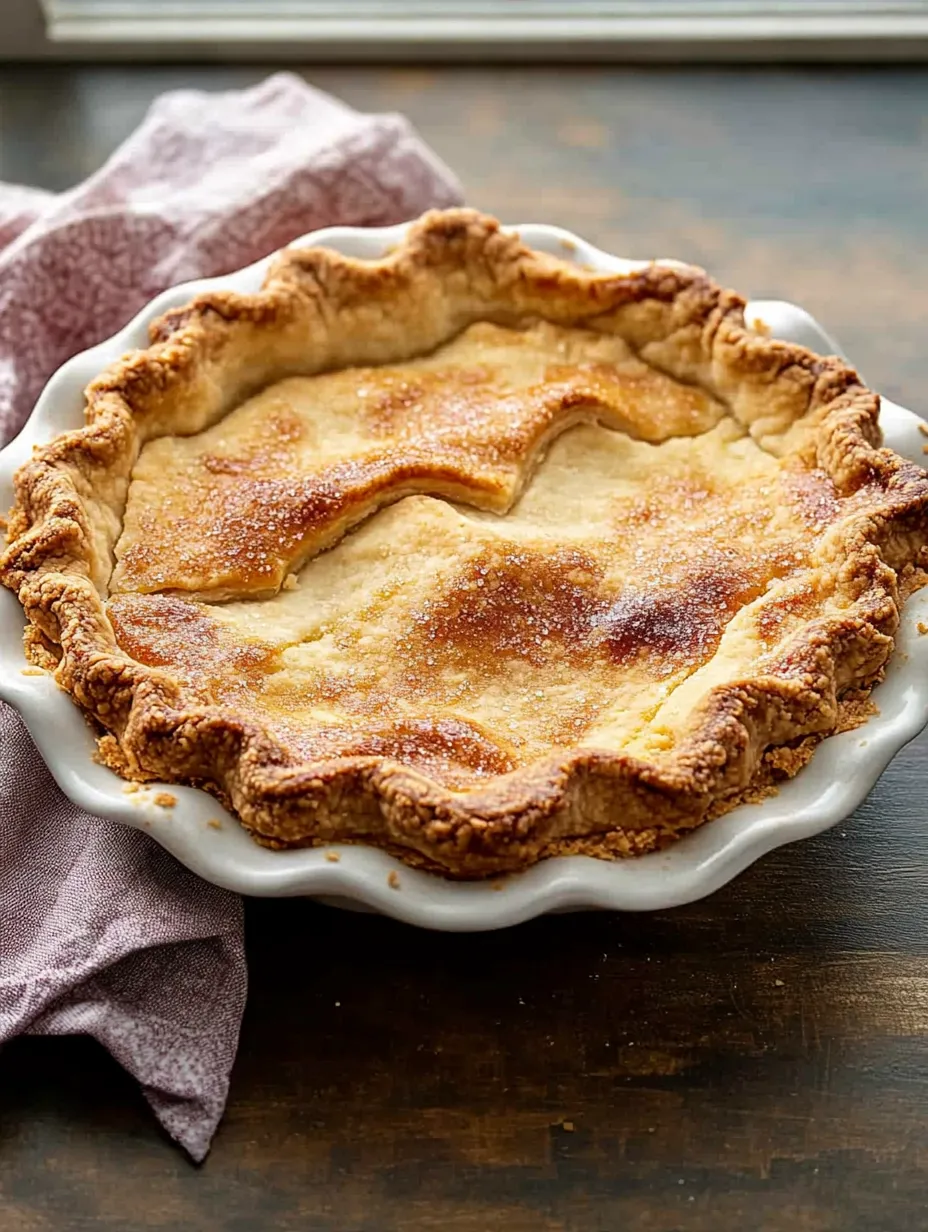
The Secret To Flaky Layers
The magic of this Crisco pie crust happens when those pea-sized bits of cold shortening get trapped between layers of flour. During baking, the shortening melts, creating steam pockets that push the dough apart into distinct flaky layers. This is why keeping everything cold throughout the process is so crucial. If your kitchen is particularly warm, I recommend chilling your flour and bowl beforehand.
Rolling Success Tips
Rolling out pie dough intimidates many home bakers, but the wax paper method in this recipe eliminates much of the frustration. By sandwiching the dough between sheets, you prevent sticking without adding excess flour which can toughen your crust. The rotating technique ensures an even circular shape. When transferring to your pie plate, the quick flip using your palm underneath creates a smooth transition without tears or stretching.
Common Troubleshooting
Crumbly dough typically means not enough water was added. Remember that humidity affects flour's moisture content, so you may need slightly more water on dry days. Conversely, sticky dough indicates too much moisture. If this happens, fold in small amounts of flour very gently until the stickiness subsides. For crusts that shrink during blind baking, the freezing step is non-negotiable. Those 30 minutes in the freezer relax the gluten strands that cause shrinkage.
Recipe FAQs
- → Why do the ingredients need to stay cold when making pie crust?
Cold ingredients are essential because they prevent the fat (shortening) from melting before baking. When cold shortening hits the hot oven, it creates steam pockets that result in those desirable flaky layers. If your ingredients warm up during preparation, the shortening incorporates too thoroughly into the flour, resulting in a tougher, less flaky crust.
- → Can I substitute butter for Crisco in this pie crust?
While you can substitute butter, it will change the texture and flavor of the crust. Crisco creates a distinctly flaky texture that's difficult to achieve with butter alone. If you prefer butter flavor, consider using half butter and half shortening to maintain some flakiness while adding buttery taste.
- → Why does my pie crust shrink when baking?
Shrinkage typically occurs for three reasons: overworking the dough (developing too much gluten), stretching the dough when fitting it into the pie plate, or skipping the chilling step. Always handle the dough gently, fit it without stretching, and freeze the shaped crust for at least 30 minutes before blind baking.
- → How do I prevent my pie crust from getting soggy with wet fillings?
For wet fillings, partially blind bake the crust first. After lining your pie plate with dough and crimping the edges, freeze for 30 minutes, then line with parchment and weights and bake at 375°F for 20 minutes. Remove the weights and parchment, let cool slightly, then add your filling and complete baking according to your pie recipe.
- → Can I make this pie crust ahead of time?
Absolutely! This dough is perfect for make-ahead preparation. You can refrigerate the wrapped dough discs for up to 2 days or freeze them for up to 6 months. You can even roll out the dough, place it in your pie plate, crimp the edges, and freeze the whole prepared crust for up to 3 months. Just wrap it tightly in plastic wrap.
- → What's the best way to transfer rolled dough to the pie plate?
The wax paper method described in the recipe is ideal. Roll the dough between two sheets of wax paper, remove the top sheet, then place your hand under the bottom sheet and flip it over the pie plate. Alternatively, you can loosely roll the dough around your rolling pin after dusting with flour, then unroll it directly over the pie plate.