
 Save
Save
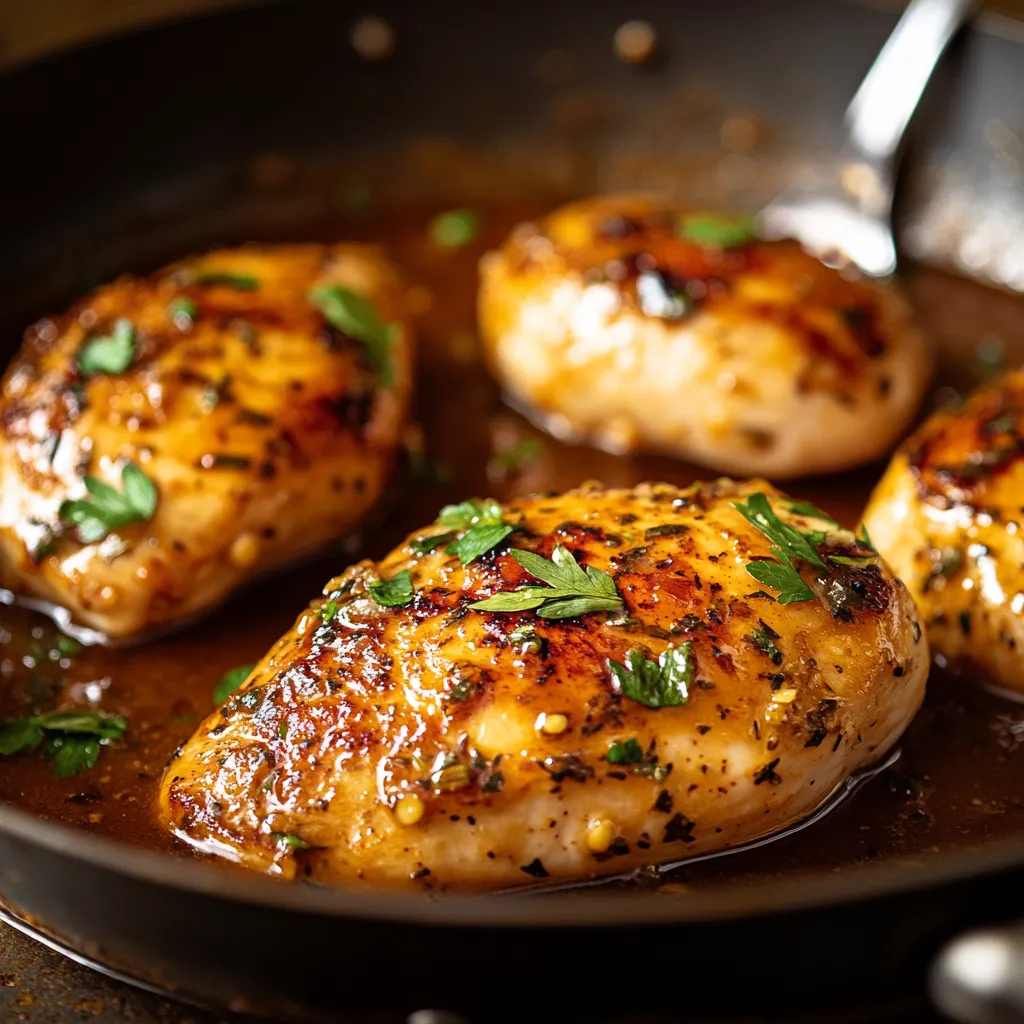
This honey garlic chicken has become my family's go-to dinner for those hectic weeknights when we need something delicious without spending hours in the kitchen. The perfect balance of sweet honey, savory garlic, and tangy vinegar creates an irresistible glaze that transforms simple chicken breasts into a restaurant-quality meal.
I first made this recipe when we had unexpected dinner guests and limited ingredients. Everyone raved about it so much that it's now in our regular rotation at least twice a month. Even my pickiest eater asks for seconds.
Ingredients
- Boneless skinless chicken breasts provide the perfect canvas for our flavorful sauce. Look for ones of similar thickness for even cooking
- Flour creates that perfect light coating that helps the sauce cling to every bite
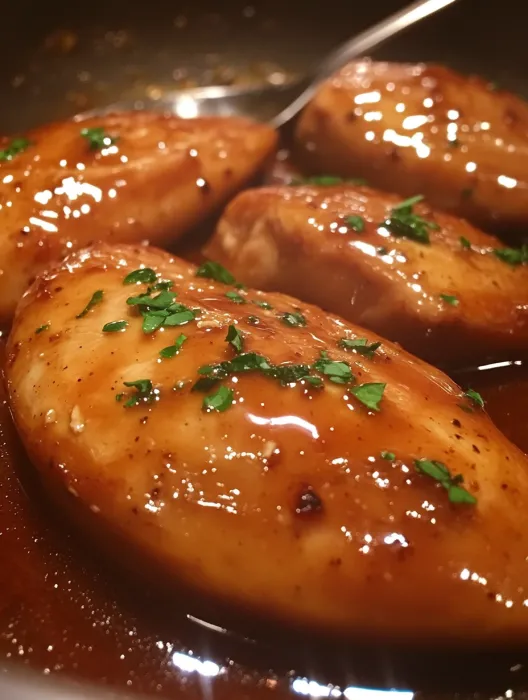
- Honey brings natural sweetness and creates that irresistible sticky texture
- Soy sauce adds the umami depth that balances the sweetness perfectly
- Rice vinegar or apple cider vinegar cuts through richness with necessary tanginess
- Fresh garlic is non negotiable here. The pre minced variety simply won't deliver the same punch
- Sesame seeds and green onions finish the dish with texture and visual appeal
Step-by-Step Instructions
- Season the Chicken
- Season chicken pieces thoroughly with salt, pepper, and garlic powder. This step builds the first layer of flavor. Make sure to season both sides evenly for consistent taste. Place flour in a shallow dish for the next step.
- Prepare the Sauce
- Whisk together honey, soy sauce, vinegar, and minced garlic in a small bowl until completely combined. The mixture will look slightly thick and glossy. This can be done while your skillet is heating up to maximize efficiency.
- Sear the Chicken
- Heat olive oil in a large skillet over medium high heat until it shimmers. Dredge each chicken piece in flour, shaking off excess, and place carefully into hot oil. Let them cook undisturbed for a full 5 minutes until deeply golden before flipping. Cook another 5 minutes on the second side for that perfect crust.
- Create the Glaze
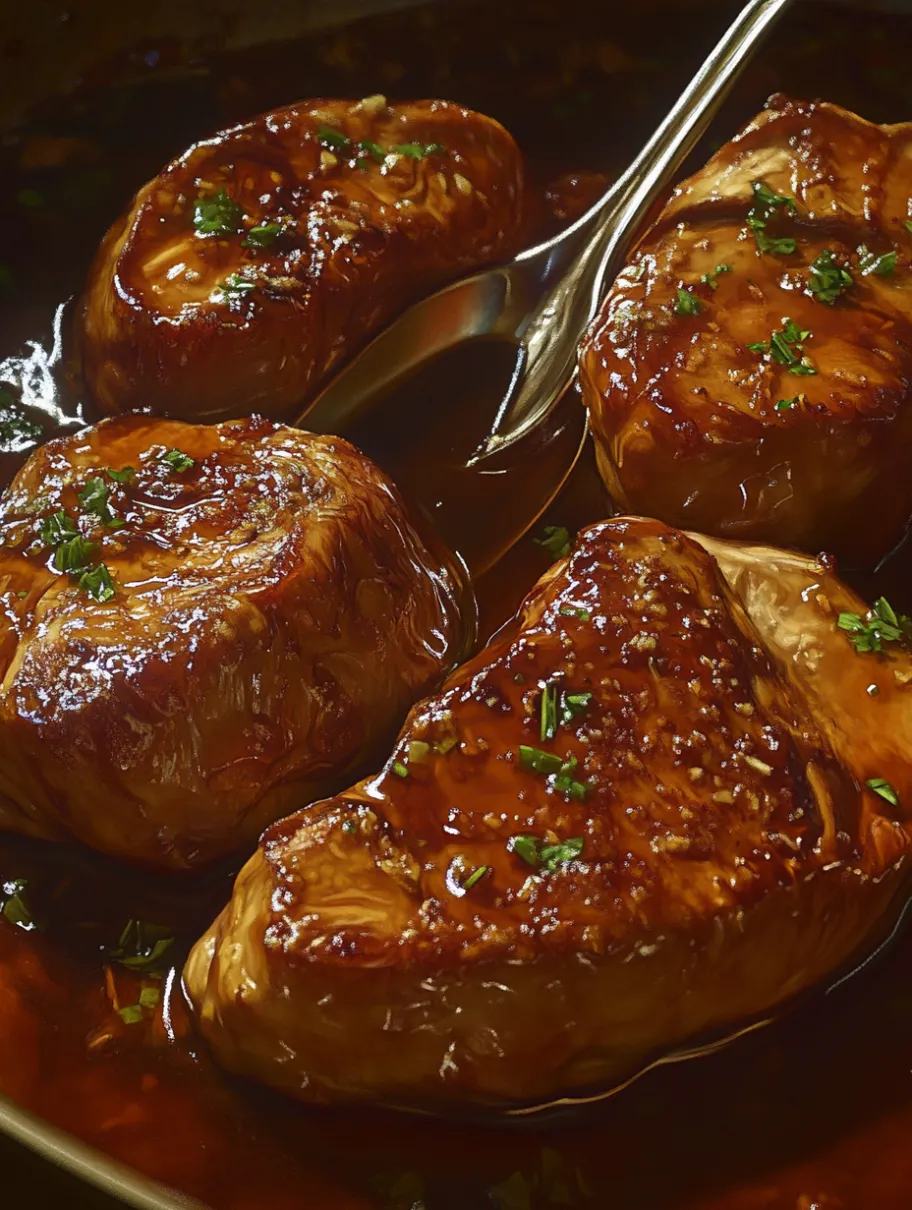
- Pour your prepared sauce into the skillet around the chicken. The sauce will bubble vigorously which is exactly what you want. Reduce heat to medium low and allow sauce to simmer for 3 minutes, which begins the thickening process. Flip chicken pieces, coating them completely in the sauce, and continue cooking until chicken reaches 165°F internally and sauce has thickened to a glaze consistency.
The fresh garlic is truly the star ingredient here. I once tried to substitute garlic powder in the sauce when I ran out of fresh, and while still good, it lacked that complex depth that makes this dish special. My husband could immediately tell the difference and gently suggested we delay dinner until I could grab some fresh garlic from the store.
Making Ahead and Storage
This honey garlic chicken reheats beautifully, making it perfect for meal prep. Store leftovers in an airtight container in the refrigerator for up to 3 days. The sauce actually continues to develop flavor overnight. When reheating, add a tablespoon of water to the container and warm gently in the microwave or in a covered skillet over low heat to prevent the chicken from drying out.
Perfect Pairings
This saucy chicken begs to be served over fluffy white rice which soaks up every bit of the delicious glaze. For a complete meal, add a simple steamed vegetable like broccoli or bok choy on the side. The vibrant green provides beautiful color contrast while adding nutritional balance. For a lower carb option, cauliflower rice works wonderfully as well and still captures all that amazing sauce.
Common Substitutions
No honey? Maple syrup or brown sugar dissolved in a bit of water will work in a pinch
Gluten free diners can substitute cornstarch or rice flour for the wheat flour
Chicken thighs can replace breasts for a more succulent result with slightly longer cooking time
Low sodium soy sauce or coconut aminos work well for those watching salt intake
Pro Tips
Pat chicken completely dry before seasoning to ensure flour adheres properly
Allow the pan to get properly hot before adding chicken for the best sear
If sauce reduces too quickly, add water one tablespoon at a time to maintain consistency
Recipe FAQs
- → Can I use chicken thighs instead of breasts?
Yes, boneless skinless chicken thighs work wonderfully in this dish. They may require an additional 2-3 minutes of cooking time, but they'll stay juicier and are more forgiving if slightly overcooked.
- → How do I know when the chicken is fully cooked?
The chicken is fully cooked when it reaches an internal temperature of 165°F (74°C) and the meat is opaque throughout with no pink remaining. A meat thermometer is the most reliable way to check.
- → Can I make this dish spicy?
Absolutely! Add a teaspoon of sriracha or a pinch of red pepper flakes to the sauce for heat. You can adjust the amount based on your spice preference.
- → What sides pair well with honey garlic chicken?
This dish pairs beautifully with steamed rice, stir-fried vegetables, or a simple green salad. The sauce is excellent drizzled over the rice or vegetables for extra flavor.
- → Can I make the sauce ahead of time?
Yes, the honey garlic sauce can be prepared up to 3 days ahead and stored in the refrigerator. Bring it to room temperature before using, as cold honey might be too thick to pour.
- → Is there a gluten-free alternative to flour for coating?
Cornstarch makes an excellent gluten-free alternative to flour for coating the chicken. It will create an even crispier exterior that holds up well to the sauce.