
 Save
Save
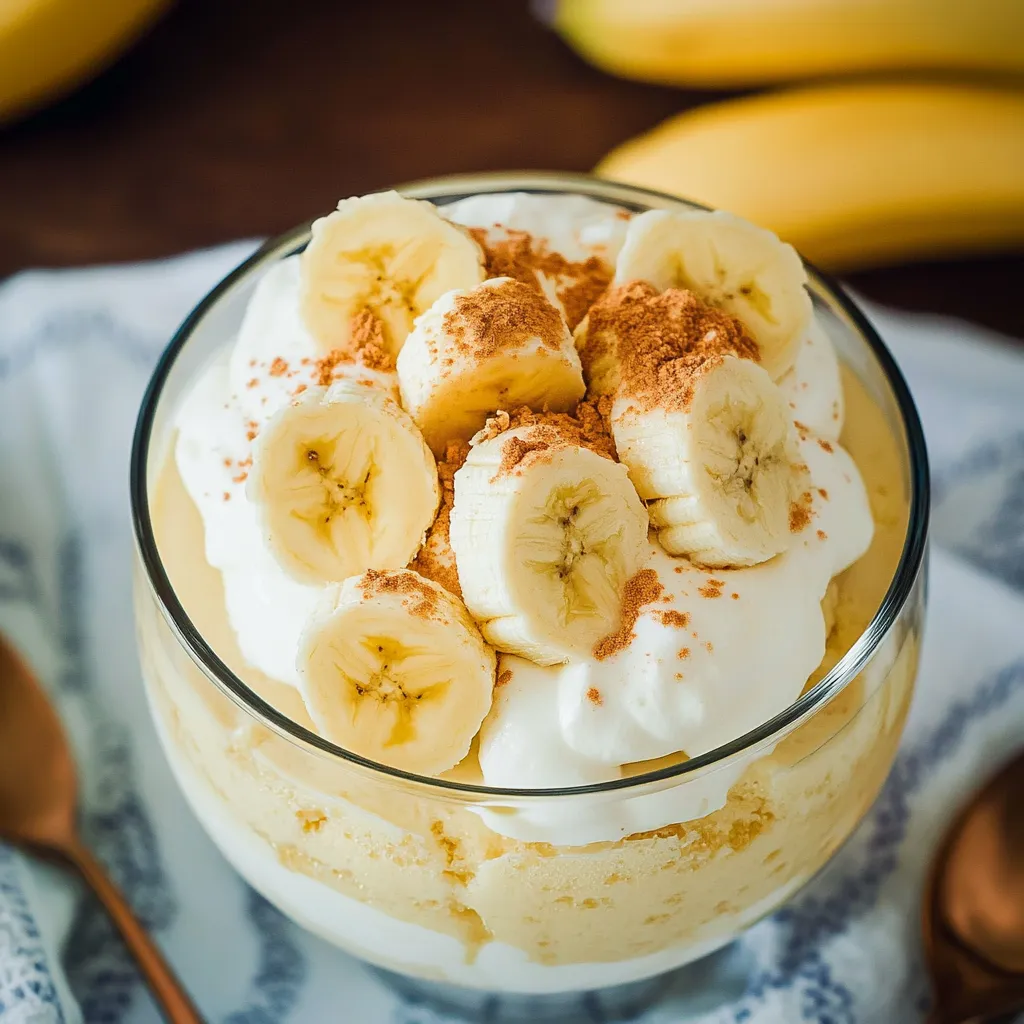
This Magnolia Bakery's Famous Banana Pudding recipe has been my guilty pleasure since I first recreated it at home. The incredible layers of vanilla pudding, freshly sliced bananas, and classic Nilla wafers come together to create that iconic dessert that made the bakery famous. What I love most is how it transforms simple ingredients into something truly magnificent.
I stumbled upon this recipe years ago when planning a birthday celebration for my sister who adores Magnolia's banana pudding. The look on her face when she tasted my homemade version was priceless. Now it's requested at nearly every family gathering.
Ingredients
- Sweetened condensed milk lends that rich caramel sweetness that makes this pudding irresistible. Always use the full fat version for proper consistency.
- Ice cold water helps activate the pudding mix properly. Make sure it's truly cold for best results.
- Instant vanilla pudding mix creates the foundation of flavor. The small box size is perfect.
- Heavy cream whipped to stiff peaks gives this dessert its cloud like texture. Keep it very cold before whipping.
- Barely ripe bananas maintain their structure in the pudding. Look for ones with a slight green tinge at the stem.
- Nilla Wafers provide that classic crunch that slowly softens into cake like texture. Accept no substitutes for the authentic experience.
Step-by-Step Instructions
- Mix Base Pudding
- Beat together sweetened condensed milk and ice cold water in a large bowl for about 1 minute until well combined. Add the vanilla pudding mix and continue beating for 2 more minutes until smooth. Cover the bowl tightly and refrigerate for at least 3 to 4 hours or overnight. This resting period is absolutely crucial as the pudding needs time to properly set or you will end up with a runny consistency.
- Prepare Whipped Cream
- In a separate large bowl, whip the heavy cream until stiff peaks form. The cream should be very cold from the refrigerator for fastest whipping. When you lift your beater the cream should hold its shape firmly.
- Combine Pudding Mixture
- Gently fold the freshly whipped cream into the set pudding mixture. Use a rubber spatula and a light hand to preserve the air bubbles. Continue folding until no streaks remain and the mixture is uniform but still light and fluffy.
- Assemble Layers
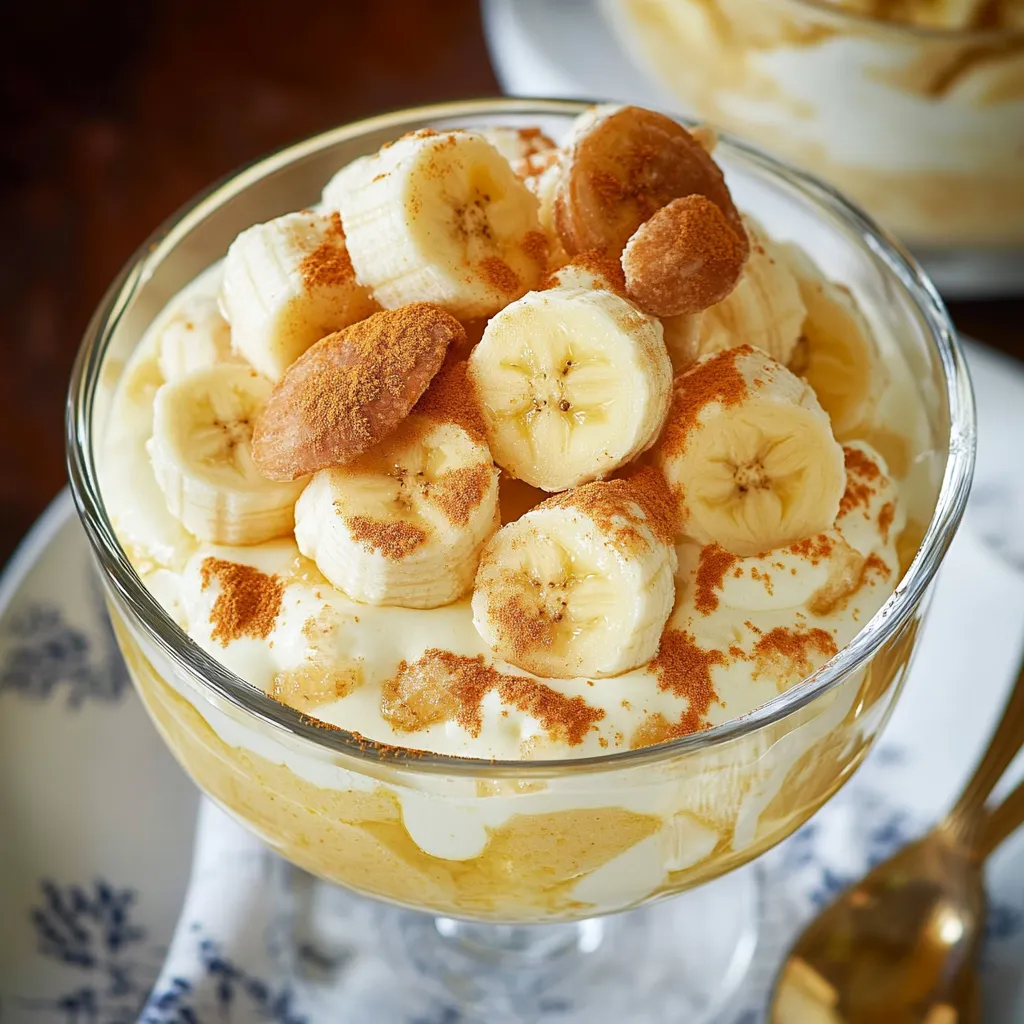
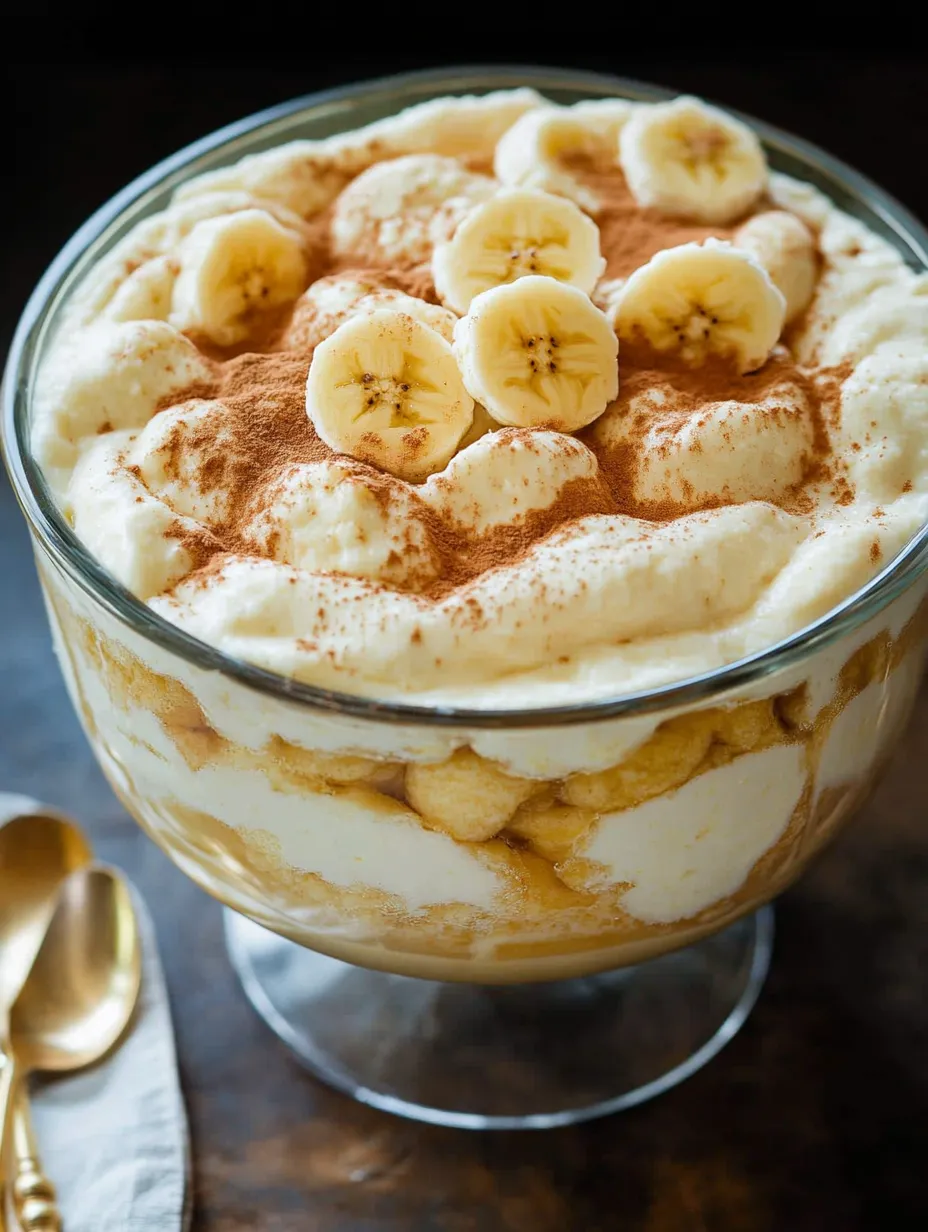
- Start with a layer of Nilla wafers covering the bottom of your serving dish, slightly overlapping them for full coverage. Add a layer of banana slices, arranging them evenly. Top with a generous layer of the pudding mixture. Repeat these layers two more times, finishing with pudding on top.
- Final Garnish
- Add a decorative touch by crushing some Nilla wafers and sprinkling them over the top layer of pudding. You can also arrange whole wafers around the edge for visual appeal.
- Chill Thoroughly
- Cover the assembled pudding tightly with plastic wrap and refrigerate for at least 4 hours before serving. This allows the flavors to meld and the wafers to soften to that perfect cake like texture.
I always find myself sneaking extra Nilla wafers while assembling this dessert. My daughter once caught me and now it's our special tradition to enjoy a few wafers with a small bowl of the pudding mixture before the final dessert is ready.
Preventing Banana Browning
The key challenge with this dessert is keeping the bananas from browning over time. For best results, choose bananas that are just barely ripe with a slight green tint at the ends. These contain less ethylene, the gas that causes ripening and browning. When slicing bananas, work quickly and incorporate them into the layers immediately to minimize air exposure.
Make Ahead Strategy
While this pudding needs time to set, the full dessert should not be made more than 8 hours before serving. For longer planning, prepare the pudding base a day ahead and store in the refrigerator. Whip the cream and assemble the layers a few hours before your event. This approach ensures the bananas stay fresh and the wafers achieve that perfect texture without becoming too soggy.
Serving Variations
This versatile dessert can be served in various ways depending on your occasion. For elegant dinner parties, portion into individual glass cups or mason jars for a sophisticated presentation. For casual gatherings, a large trifle bowl makes a stunning centerpiece. During summer months, try freezing individual portions for about 30 minutes before serving for a refreshing semi frozen treat that stands up beautifully to heat.
Recipe FAQs
- → How do I prevent the bananas from turning brown?
Choose barely ripe bananas (slightly green at the stem), brush them lightly with lemon juice or other fruit juice, rinse with club soda, or keep them as airtight as possible in the pudding. All these methods help slow oxidation.
- → How long does this banana pudding need to chill?
The pudding mixture needs 3-4 hours (or overnight) to set properly before folding in the whipped cream. After assembly, the complete dessert requires an additional 4-8 hours of chilling for the flavors to meld perfectly.
- → Can I make this banana pudding in advance?
Yes, but only up to 8 hours before serving. Beyond that timeframe, the bananas will begin to brown. For best results, assemble shortly before your gathering.
- → What type of container works best for this dessert?
A large glass bowl with 4-5 quart capacity showcases the beautiful layers, but a 9x13 baking dish works equally well. You can also create individual portions in glasses or small bowls for elegant presentation.
- → Is this the authentic Magnolia Bakery pudding?
Yes, this is the actual banana pudding recipe from Magnolia Bakery's cookbook, featuring their signature combination of sweetened condensed milk, vanilla pudding mix, whipped cream, bananas, and Nilla wafers.
- → Why is my pudding mixture watery?
The pudding mixture must set for the full 3-4 hours (or overnight) before folding in the whipped cream. Rushing this step will result in a watery consistency instead of the proper thick, creamy texture.