
 Save
Save
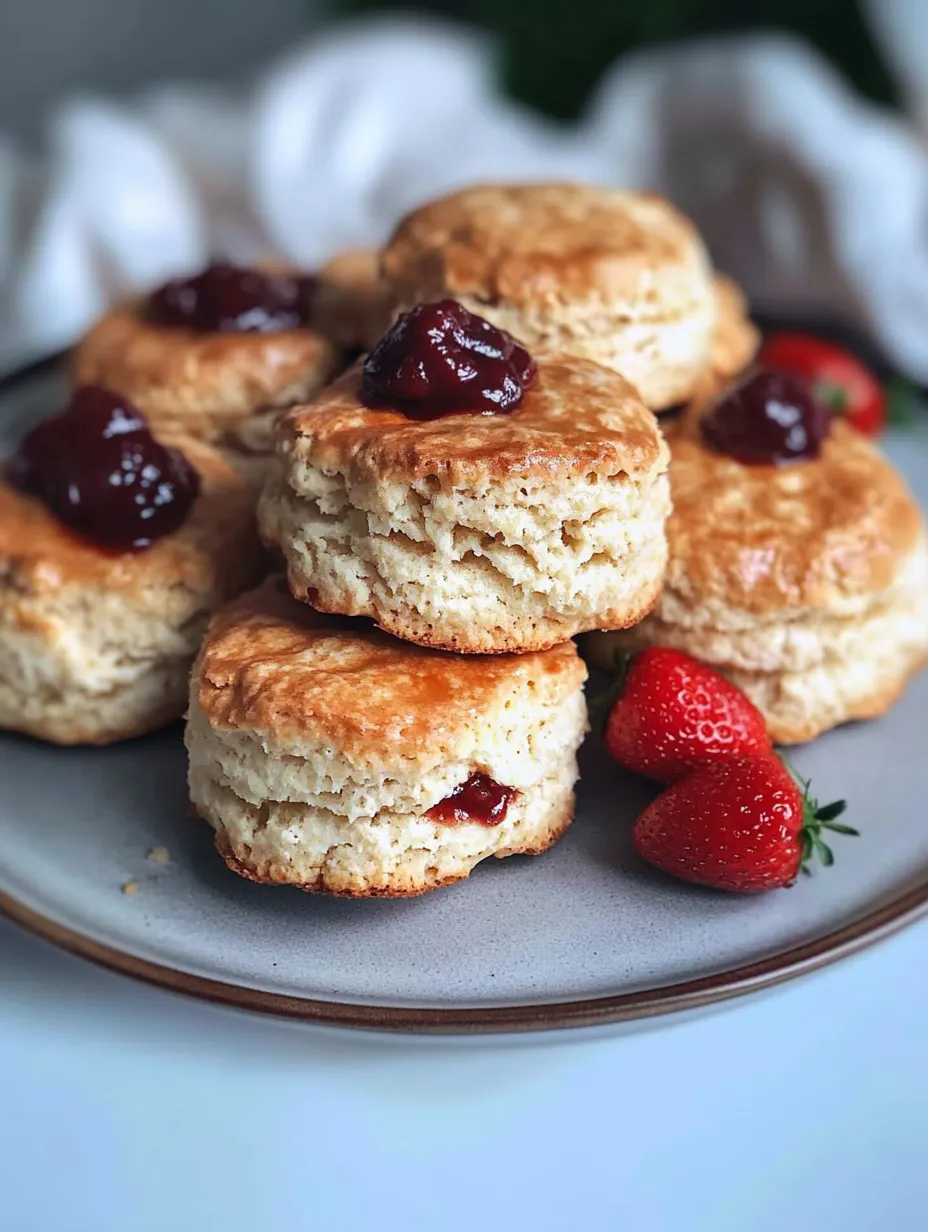
These traditional British scones have been my secret weapon for impromptu gatherings and weekend treats for years. Perfectly light and fluffy with a golden top, they transform ordinary afternoons into special occasions with minimal effort.
I first made these scones when unexpected guests arrived one rainy Sunday afternoon. With no desserts in the house, I quickly whipped these up, and they've become my signature offering ever since. Even my mother-in-law asked for the recipe, which is the ultimate compliment.
Ingredients
- Self-raising flour provides the perfect rise without complications. Look for fresh flour for best results
- Cold unsalted butter creates those essential flaky layers. The colder the better for perfect texture
- Caster sugar adds just enough sweetness without overpowering. Fine sugar dissolves more evenly
- Baking powder gives extra insurance for a good rise. Check expiration date for optimal results
- Salt enhances all the flavors. Even in sweet recipes, it balances the overall taste
- Cold whole milk brings richness and binds everything together. Full-fat produces the best texture
Step-by-Step Instructions
- Prepare Your Oven
- Preheat to 200°C standard or 180°C fan. Position rack in the middle for even baking. Line your baking tray with parchment paper while waiting for the oven to heat.
- Create The Crumb
- Combine flour, butter, sugar, baking powder, and salt in a food processor. Pulse briefly for about 5 seconds until the mixture resembles coarse breadcrumbs. The butter should remain in small pea-sized pieces which will create pockets of steam while baking, resulting in flaky layers.
- Add The Liquid
- Pour in the cold milk and pulse for just 10 seconds until the dough comes together. Avoid overmixing which can develop gluten and make tough scones. The dough should look slightly shaggy but hold together when pressed.
- Form The Dough
- Turn the dough onto a lightly floured surface and gently bring it together with minimal kneading. Roll to exactly 2cm thickness using a light touch. Too thin and they won't rise properly, too thick and they may not bake through.
- Cut The Scones
- Dip your round cutter in flour first to prevent sticking, then press straight down without twisting. Clean cuts help the scones rise evenly. Place them slightly apart on the prepared baking tray to allow heat circulation.
- Finish And Bake
- Brush tops with a thin layer of milk using a pastry brush for that beautiful golden color. Bake for 12-15 minutes until risen and lightly golden. They should sound slightly hollow when tapped on the bottom.

My grandmother taught me to always wrap freshly baked scones in a clean tea towel immediately after taking them from the oven. This simple trick keeps the tops soft while allowing steam to escape, creating that perfect scone texture that's crisp outside and tender inside.
The Art Of Serving Scones
Traditionally, British scones are split by hand rather than cut with a knife. This preserves the fluffy texture instead of compressing it. Top with clotted cream and strawberry jam for the authentic experience. In Cornwall, they spread the jam first, then cream. In Devon, they do the opposite. Try both ways and pick your favorite!
Storage And Freshness
Scones are at their absolute best when fresh from the oven, but you can store them in an airtight container for up to 2 days. To refresh, warm them in a 150°C oven for 5 minutes. For longer storage, freeze completely cooled scones in freezer bags, then defrost and warm in the oven for 10 minutes before serving.
Perfect Flavor Variations
Transform these basic scones into endless variations. Add 100g of dried fruit like raisins or cranberries for fruited scones. Mix in 1 tablespoon of orange zest for a citrus twist. For savory scones, omit the sugar and add 100g of grated cheese and a teaspoon of mustard powder. The possibilities are endless while keeping the base recipe the same.
Troubleshooting Common Issues
If your scones don't rise properly, your baking powder might be old, or you might have twisted the cutter. If they're tough, you likely overworked the dough. Remember that scone dough should be handled minimally. If they're doughy in the middle, they need a few more minutes in the oven or your dough was rolled too thick.
Recipe FAQs
- → Why do my scones need to be made with cold ingredients?
Cold ingredients are essential because they prevent the butter from melting before baking. When cold butter hits the hot oven, it creates steam pockets that make your scones rise and develop their characteristic flaky, light texture. Always use cold butter straight from the refrigerator and chilled milk for best results.
- → Can I make these scones without a food processor?
Absolutely! While a food processor makes the process quicker, you can easily make these scones by hand. Simply rub the cold butter into the flour mixture using your fingertips until it resembles breadcrumbs, then add the cold milk and mix gently with a knife or fork until just combined. The key is minimal handling to keep the dough light.
- → Why shouldn't I twist the cutter when cutting out scones?
Twisting the cutter seals the edges of the scone dough, which prevents them from rising properly during baking. For tall, evenly-risen scones, press the cutter straight down into the dough and lift it straight back up without any twisting motion. This keeps the cut edges open, allowing for maximum lift in the oven.
- → How do I know when my scones are perfectly baked?
Perfectly baked scones will be lightly golden on top and sound slightly hollow when tapped on the bottom. They should have risen well and feel light to the touch. The baking time of 12-15 minutes is a good guideline, but ovens vary, so it's worth checking a minute or two before the suggested time is up.
- → Can I add other ingredients to these basic scones?
Definitely! This is a versatile base scone recipe that welcomes additions. Try folding in 100g of dried fruit like raisins or cranberries after combining the wet and dry ingredients. For savory scones, reduce the sugar and add 100g of grated cheese and some chopped herbs. Just be careful not to overwork the dough when incorporating additions.
- → How should I store leftover scones?
Scones are best enjoyed fresh on the day of baking. If you have leftovers, store them in an airtight container at room temperature for up to 2 days. To refresh them, warm in a preheated oven at 150°C/300°F for a few minutes. Alternatively, you can freeze baked scones for up to 3 months and defrost at room temperature before warming.