
 Save
Save
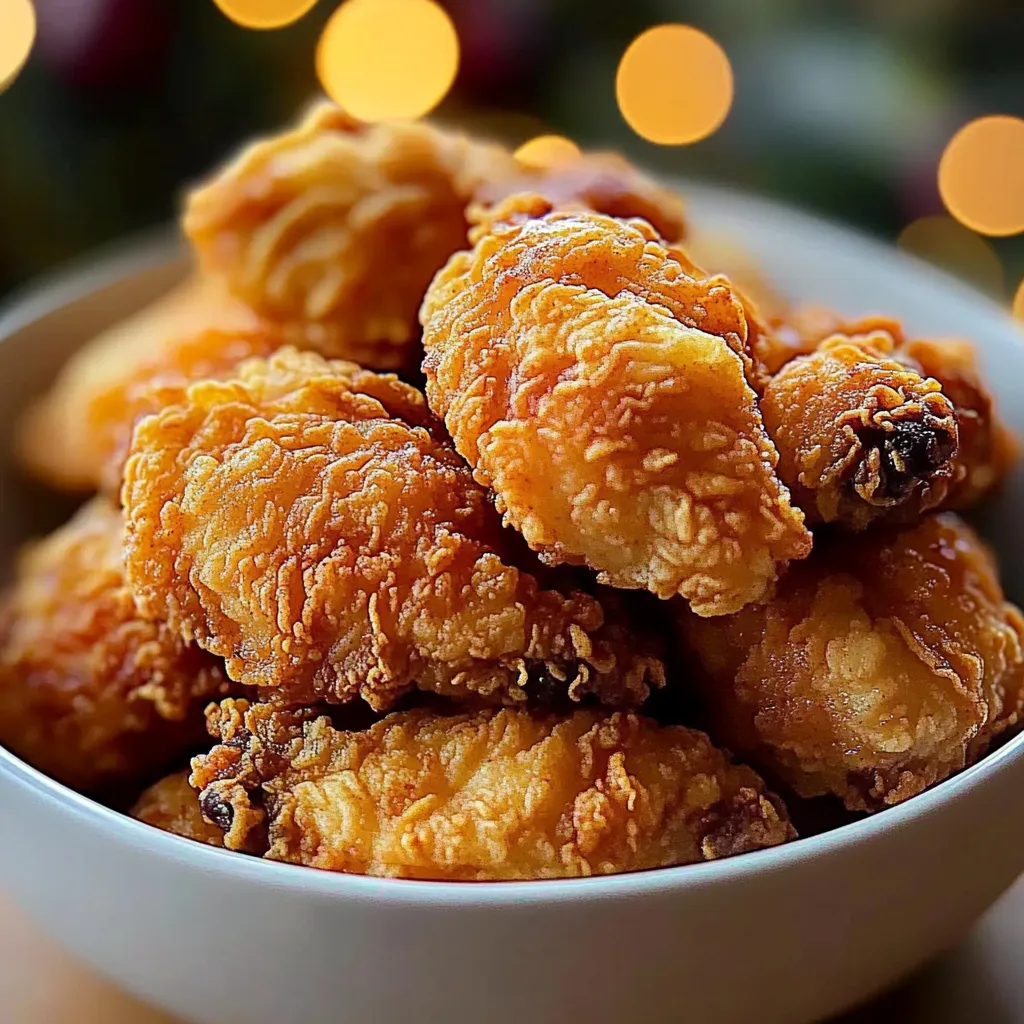
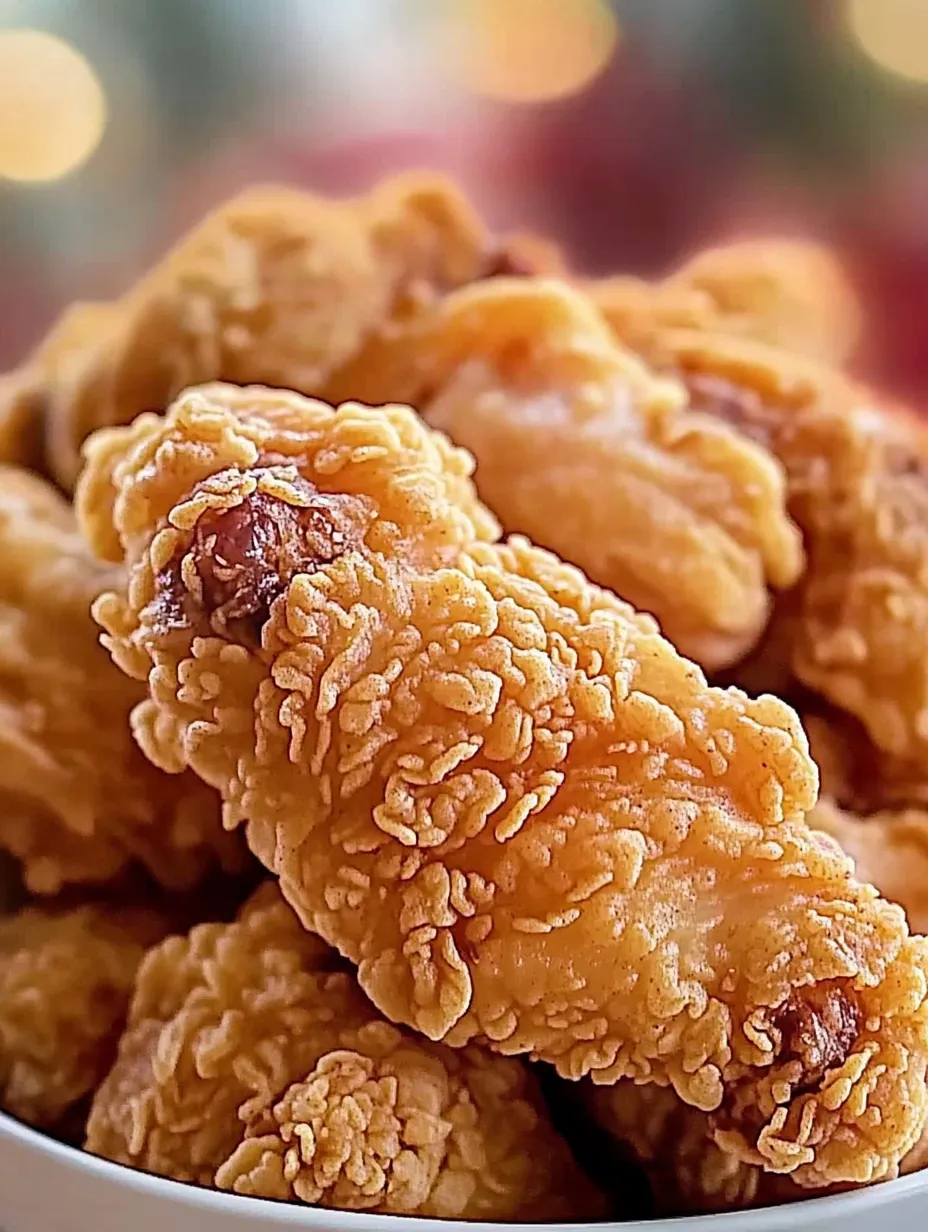
This hearty fried chicken recipe has become my weekend specialty, delivering that perfect combination of crispy exterior and juicy interior that rivals even the best restaurant versions. The secret is in my simplified wet batter approach that saves time without sacrificing that classic crunch we all crave.
I discovered this technique during a summer cookout when I was short on time but needed to impress my in laws. The simplified dredging process was such a hit that it became our official family gathering recipe that everyone requests by name.
Ingredients
- Chicken pieces preferably drumsticks or thighs for their juicy dark meat and forgiving cook time
- Whole milk creates a tenderizing brine that breaks down proteins for more succulent meat
- Kosher salt essential for proper brining and seasoning throughout
- Fresh garlic cloves add aromatic depth to the brine that penetrates the meat
- Peppercorns provide subtle heat and complexity in the brine
- Bay leaves infuse an earthy undertone that balances the richness
- All purpose flour forms the base of our coating with the perfect structure
- Cornstarch the secret weapon that creates exceptional crispiness by limiting gluten development
- Baking powder creates tiny air bubbles when it hits hot oil for extra crunch
- Seasonings like garlic powder onion powder and cayenne create depth of flavor in every bite
- Cold water for the wet batter maintaining the perfect consistency
Step-by-Step Instructions
- Prepare the Brine
- Pierce your chicken pieces carefully with a knife to create channels for the brine to penetrate. Combine milk with salt garlic peppercorns and bay leaves in a large container. Submerge chicken completely and refrigerate for at least 2 hours though overnight delivers even better results. This step is crucial for developing flavor from the inside out.
- Create the Seasoning Mix
- In a large bowl whisk together flour cornstarch salt white pepper black pepper garlic powder onion powder cayenne and baking powder until thoroughly combined. The blend of spices ensures flavor in every bite while the cornstarch and baking powder are the secret to achieving that perfect crunch.
- Make the Wet Batter
- Take one cup of your seasoning mix and place it in a separate bowl. Add cold water and whisk until smooth with no lumps. This creates the adhesive layer that helps the dry coating stick perfectly to the chicken. The cold water is essential as it prevents the gluten from developing which would make the coating tough.
- Prepare the Craggly Bits
- Remove chicken from brine and spoon a few tablespoons of the brine liquid into your remaining dry seasoning mix. Use your hands to rub the liquid and dry ingredients together creating small clumps. These uneven bits are what give fried chicken that signature textured exterior everyone loves.
- Dredge the Chicken
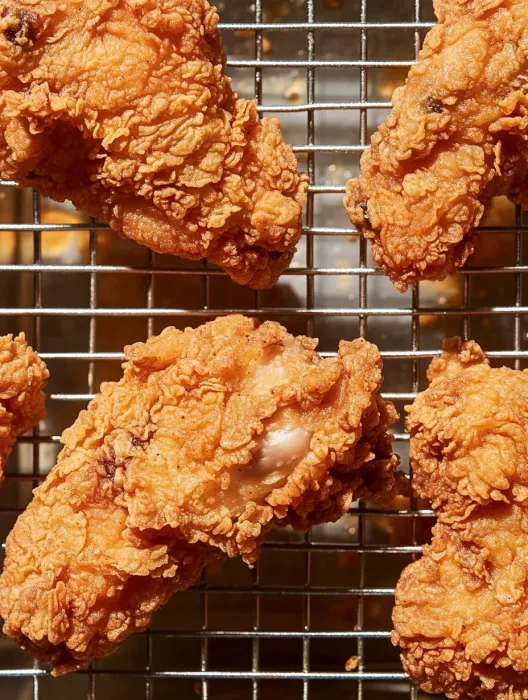
- Dip each piece of chicken into the wet batter allowing excess to drip off. Immediately roll in the dry seasoning mix with craggly bits pressing firmly to ensure complete coverage. The wet then dry method creates multiple layers of crispiness that will stay crunchy longer. Place dredged pieces on a baking sheet while heating your oil.
- Fry to Perfection
- Heat oil to exactly 350°F in a heavy bottomed pan or dutch oven. Carefully add chicken pieces without overcrowding and maintain oil temperature between 325°F and 350°F throughout cooking. Fry for 8 to 12 minutes depending on size until the internal temperature reaches a food safe 165°F. The golden exterior should be deeply craggy and crisp.
The first time I served this fried chicken at a family gathering my uncle who claims to be a fried chicken connoisseur declared it the best he had ever tasted. He was shocked when I revealed how simple the technique actually was. The milk brine is truly transformative and worth the extra planning time.
Storage and Reheating
Properly stored fried chicken will maintain good flavor for 3 to 4 days in the refrigerator. Place completely cooled chicken in an airtight container lined with paper towels to absorb excess moisture. For the best leftover experience reheat in a 375°F oven for 10 to 15 minutes rather than microwaving which makes the coating soggy. Place on a wire rack over a baking sheet for optimal air circulation that will restore much of the original crispiness.
Ingredient Substitutions
The beauty of this recipe lies in its adaptability. For a dairy free version replace milk with buttermilk or even pickle juice which delivers similar tenderizing benefits. Gluten free eaters can substitute the all purpose flour with a cup for cup gluten free blend such as Bob's Red Mill or King Arthur without sacrificing texture. For a spicier version double the cayenne pepper and add a tablespoon of hot sauce to your wet batter for heat that penetrates throughout.
Serving Suggestions
This fried chicken reaches peak deliciousness when served with classic Southern sides. Try it with creamy mashed potatoes and homemade gravy or alongside buttery corn on the cob. For a picnic style meal pair with cold potato salad coleslaw and flaky buttermilk biscuits. The contrast between the hot crispy chicken and cool creamy sides creates a satisfying balance that makes this meal truly memorable.
Recipe FAQs
- → Can I substitute the buttermilk in this fried chicken?
Yes, if you don't have buttermilk, you can make your own by mixing 1 cup of regular milk with 1 tablespoon of vinegar. Let it sit for 5-10 minutes, then stir before using. The acidity is crucial for tenderizing the chicken.
- → How long should I marinate the chicken?
While you can marinate the chicken for a minimum of 2 hours, letting it soak overnight (8 hours) yields the best flavor and texture. This extended time allows the buttermilk to fully tenderize the meat.
- → What's the purpose of cornstarch in the coating?
The cornstarch creates an extra crispy exterior when mixed with flour. If you prefer a less crunchy coating, you can omit the cornstarch and use just flour instead.
- → What's the best oil for frying chicken?
Peanut oil is ideal for this chicken due to its high smoke point and flavor, but canola or vegetable oil work well too. The key is maintaining a consistent temperature between 300-325°F while frying.
- → How do I know when the chicken is fully cooked?
The chicken is done when it's golden brown and reaches an internal temperature of 165°F. A meat thermometer is the most reliable way to check. Dark meat typically takes 12-14 minutes while white meat needs 8-10 minutes of frying.
- → Why is my chicken burning on the outside but raw inside?
This usually happens when the oil temperature is too high. Use a cooking thermometer to maintain oil between 300-325°F, reducing heat if the chicken browns too quickly. An electric deep fryer can help maintain consistent temperatures.