
 Save
Save
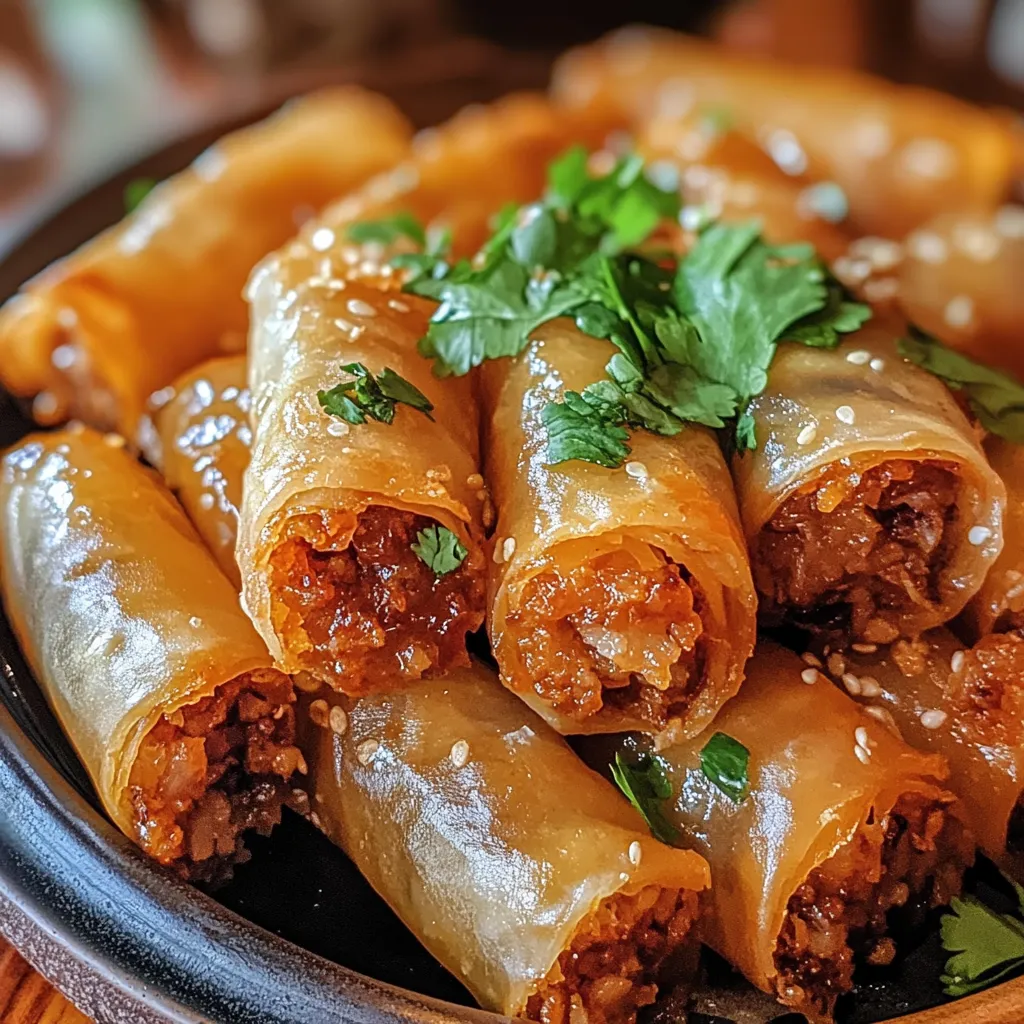
This hearty Filipino lumpia has been my family's go-to appetizer for gatherings and celebrations. The crispy exterior giving way to a savory, well-seasoned filling creates an irresistible combination that disappears from plates within minutes of serving.
I first learned to make lumpia from my Filipino neighbor who insisted proper wrapping technique was everything. After years of practice, my fingers now work almost automatically, creating those perfect tight rolls that fry up wonderfully crisp.
Ingredients
- Spring roll wrappers about 20-25 sheets. Look for thin wrappers labeled specifically for spring rolls or lumpia
- Ground pork provides the richness and traditional flavor base. Choose 80/20 lean to fat ratio for best flavor
- Shredded carrots add natural sweetness and color. Shred them yourself for freshest flavor
- Finely chopped green beans introduce texture and brightness. Cut them very small for easy rolling
- Chopped onions form an aromatic foundation. Sweet varieties work beautifully here
- Minced garlic cloves bring essential pungency. Fresh is vastly superior to pre-minced
- Soy sauce introduces umami depth. Select naturally brewed for best flavor profile
- Ground black pepper adds gentle heat that builds in the background
- Salt enhances all the other flavors. Use kosher or sea salt for better control
- Sesame oil introduces nutty complexity. A little goes a long way
- Chopped fresh cilantro brings brightness. Optional but highly recommended
- Oil for frying vegetable or peanut oil works best with high smoke points
Step-by-Step Instructions
- Prepare the Filling
- Combine all filling ingredients in a large bowl including your ground meat, vegetables, and seasonings. Mix thoroughly with clean hands until evenly distributed. The mixture should hold together when pressed but still remain loose enough to spread easily in the wrapper. The raw garlic and onions will release more flavor as they cook inside the wrapper.
- Create Your Wrapping Station
- Set up your workspace with the filling bowl, a clean flat surface, spring roll wrappers covered with a damp cloth to prevent drying, a small bowl of water for sealing, and a tray for your finished rolls. Having everything within reach makes the wrapping process much more efficient and enjoyable. Work with one wrapper at a time while keeping the others covered.
- Master the Wrapping Technique
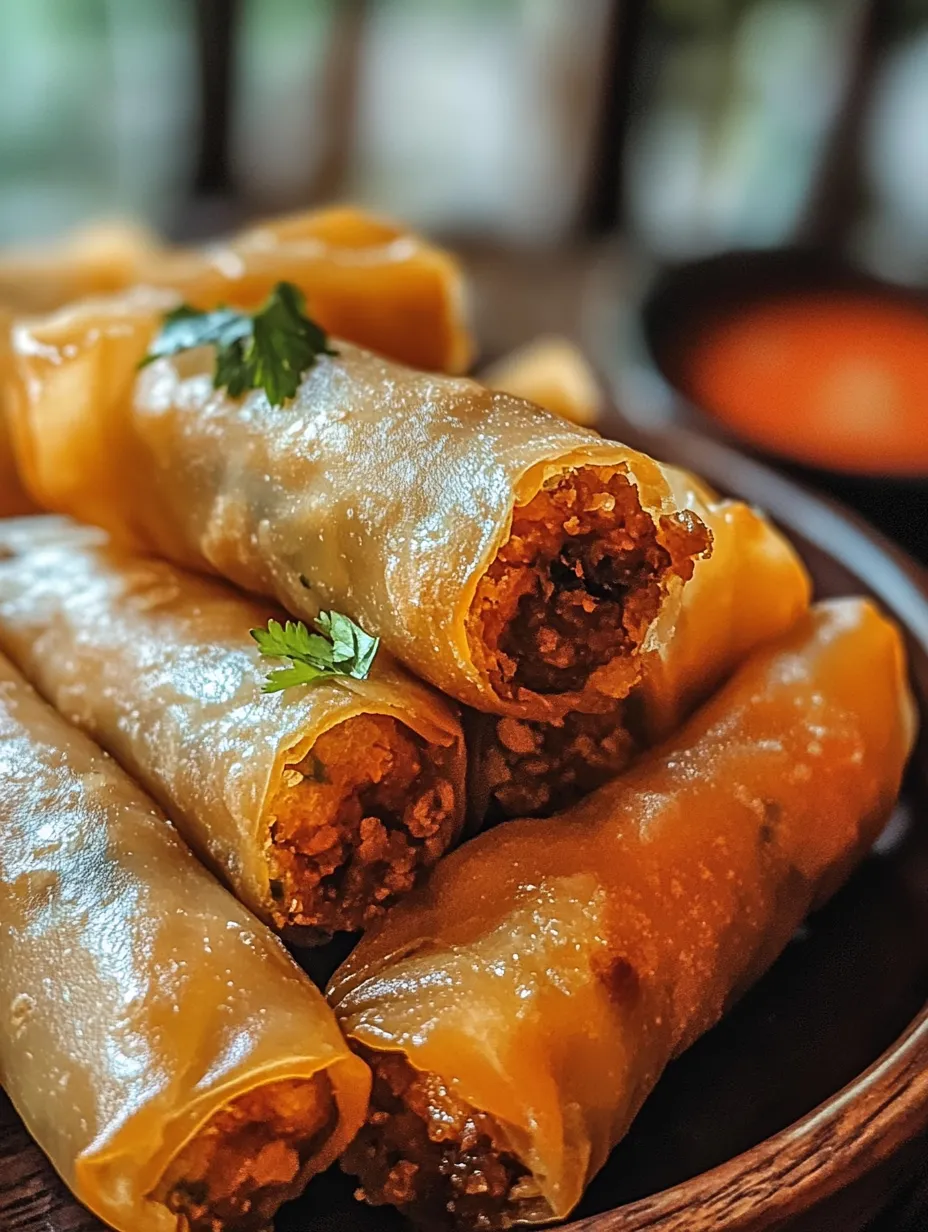
- Position your wrapper diamond-shaped with a corner pointing toward you. Place about two tablespoons of filling in a horizontal line about two inches from the bottom corner. Fold the bottom corner over the filling and tuck it under tightly. Fold the left and right corners toward the center to create an envelope shape. Continue rolling upward while maintaining tension for a tight roll. Seal the final corner with a dab of water. The tighter your roll, the less oil absorption during frying.
- Perfect the Frying Process
- Heat oil to approximately 350°F in a deep heavy-bottomed pan. Test with a small piece of wrapper which should bubble immediately and rise to the surface. Work in small batches of 4-5 lumpia at a time to maintain oil temperature. Fry until deeply golden brown, about 4-5 minutes, turning occasionally for even cooking. Keep fried lumpia warm in a 200°F oven while finishing remaining batches.
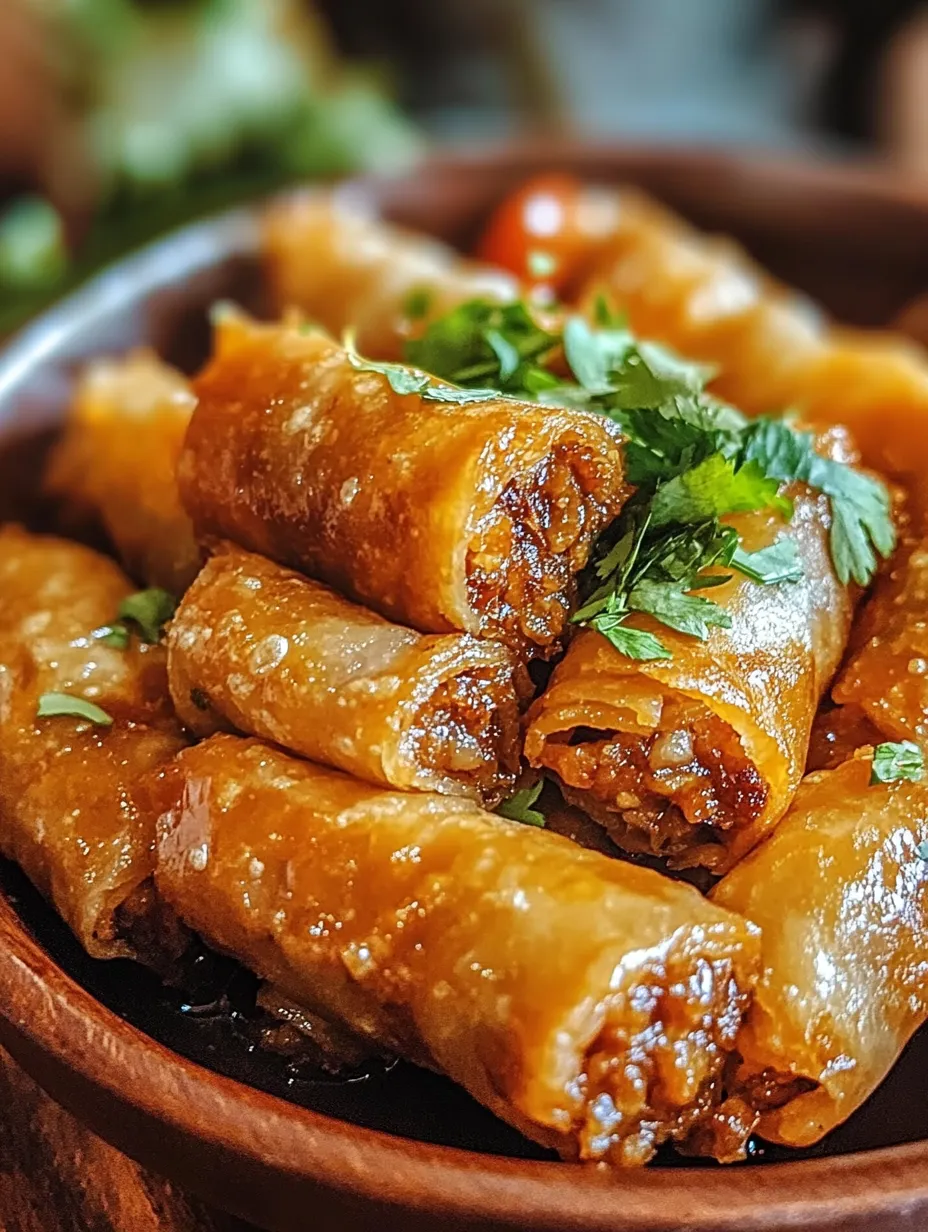
The humble spring roll wrapper is truly the unsung hero of this recipe. I discovered through countless batches that keeping them properly covered with a damp cloth while working makes all the difference between frustrating tears and perfect rolls. My grandmother always said the sound of lumpia frying reminds her of celebrations back home in the Philippines.
Make-Ahead and Storage
Lumpia excel as a make-ahead dish. Prepare and roll them completely, then arrange in a single layer on a baking sheet. Freeze until solid, about 2 hours, then transfer to freezer bags where they'll keep for up to 3 months. When ready to serve, fry directly from frozen, adding just 1-2 minutes to the cooking time. For leftovers, store fried lumpia in the refrigerator for up to 3 days. Reheat in a 350°F oven for 10 minutes to restore crispness. The microwave works in a pinch but sacrifices the crispy texture.
Dipping Sauce Variations
The perfect dipping sauce elevates lumpia from delicious to extraordinary. Traditional Filipino sweet chili sauce offers the ideal balance of sweetness and mild heat. For something more authentic, try a simple vinegar dip made with rice vinegar, minced garlic, and a dash of black pepper. My personal favorite combines equal parts sweet chili sauce and rice vinegar with a splash of soy sauce and finely minced fresh cilantro. Serve your sauces in small individual bowls to prevent double-dipping at parties.
Regional Adaptations
Filipino lumpia varies delightfully across regions. Northern Filipino versions often include more root vegetables like turnips or potatoes. Southern variations might incorporate seafood like shrimp or crab. Some families add a touch of sweetness with raisins or pineapple tidbits. In some coastal areas, you'll find lumpia with a higher ratio of vegetables to meat, reflecting local agricultural abundance. These regional differences showcase how adaptable the basic technique remains while honoring local ingredients and preferences.
Recipe FAQs
- → Can I make Filipino lumpia ahead of time?
Yes! You can prepare lumpia up to 24 hours in advance. After wrapping, store them in an airtight container with layers separated by parchment paper to prevent sticking. You can also freeze uncooked lumpia for up to 3 months - simply place them in a single layer on a baking sheet to freeze individually before transferring to freezer bags.
- → What's the best dipping sauce for lumpia?
Traditional dipping options include sweet chili sauce, garlic vinegar dip, or banana ketchup. For a quick garlic vinegar dip, combine rice vinegar with minced garlic, a touch of sugar, and chili flakes. Many Filipino families have their own special dipping sauce recipes passed down through generations.
- → How do I prevent my lumpia from becoming soggy?
Ensure your filling isn't too wet - drain any excess liquid before wrapping. When frying, maintain oil at 350°F (175°C) to quickly seal the wrapper. Most importantly, allow cooked lumpia to cool slightly on a wire rack rather than paper towels to maintain maximum crispiness, as this allows air circulation around the entire roll.
- → Can I use alternative fillings for vegetarian lumpia?
Absolutely! Popular vegetarian fillings include combinations of cabbage, carrots, green beans, tofu, mushrooms, and bean sprouts. Season with the same aromatics (garlic, onion) and sauces for authentic flavor. Some versions even incorporate glass noodles (sotanghon) for additional texture in vegetarian variations.
- → What's the difference between lumpia and other spring rolls?
Filipino lumpia typically uses thinner wrappers than Chinese spring rolls, resulting in an extra crispy texture. The filling often contains more meat than vegetables compared to Vietnamese or Thai spring rolls. Lumpia Shanghai, a popular variant, features a meat-heavy filling in very thin, cigar-shaped rolls, while fresh lumpia (lumpia sariwa) uses a crepe-like wrapper and isn't fried.
- → How do I properly seal lumpia wrappers?
Apply a small amount of water or beaten egg along the final edge of the wrapper before completing your roll. This creates a natural seal when pressed gently. Avoid overfilling, which can cause bursting during frying, and make sure to roll tightly to prevent air pockets that might expand during cooking.