
 Save
Save
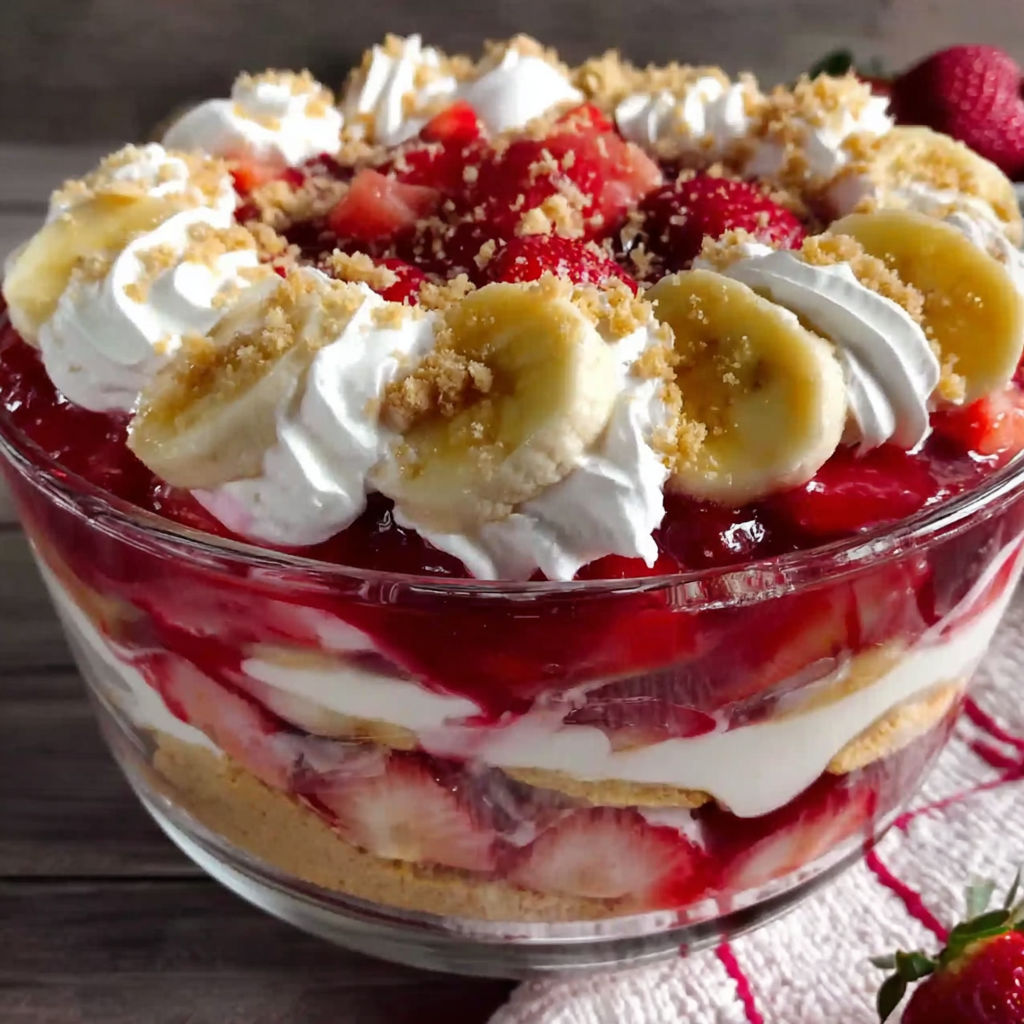
This Strawberry Banana Pudding Dream is a luscious no-bake dessert that brings together the creamy sweetness of vanilla pudding with fresh strawberries and ripe bananas. It’s perfect for warm days when you want something cool, creamy, and fruit-filled without turning on the oven. Layers of vanilla wafers add a delightful crunch that contrasts beautifully with the smooth pudding and juicy fruit.
My family fell in love with this treat during a summer gathering, and now it’s our go-to dessert for any celebration or casual get-together.
Gather Your Ingredients
- Two boxes of vanilla wafers: these provide a crunchy texture that soaks up the pudding just right
- Six to eight bananas, sliced: use ripe bananas for natural sweetness and creaminess
- One container of strawberries: fresh and vibrant, they add a juicy brightness
- Two cups of milk: the liquid base for the pudding, whole milk works best for richness
- One (five ounce) box of French Vanilla pudding mix: gives a sweet, custardy flavor
- One (eight ounce) package of cream cheese: adds creaminess and a slight tang to balance the sweet layers
- One (fourteen ounce) can of sweetened condensed milk: key for smooth sweetness and body
- One (twelve ounce) container of whipped topping: makes the dessert light and fluffy on top
How to Make It
- Slick the Cream Cheese and Sweetened Condensed Milk Together:
- In a large mixing bowl, combine the cream cheese and the sweetened condensed milk. Beat them with a hand mixer or whisk until the mixture is completely smooth and free of lumps. This step is essential to avoid any graininess in the final pudding.
- Mix in Pudding and Milk:
- Add the French Vanilla pudding mix along with two cups of milk to the cream cheese mixture. Stir thoroughly until the pudding mix is fully dissolved and the mixture is thick and velvety. This creates the luscious base that holds all the flavors together.
- Build the Layers:
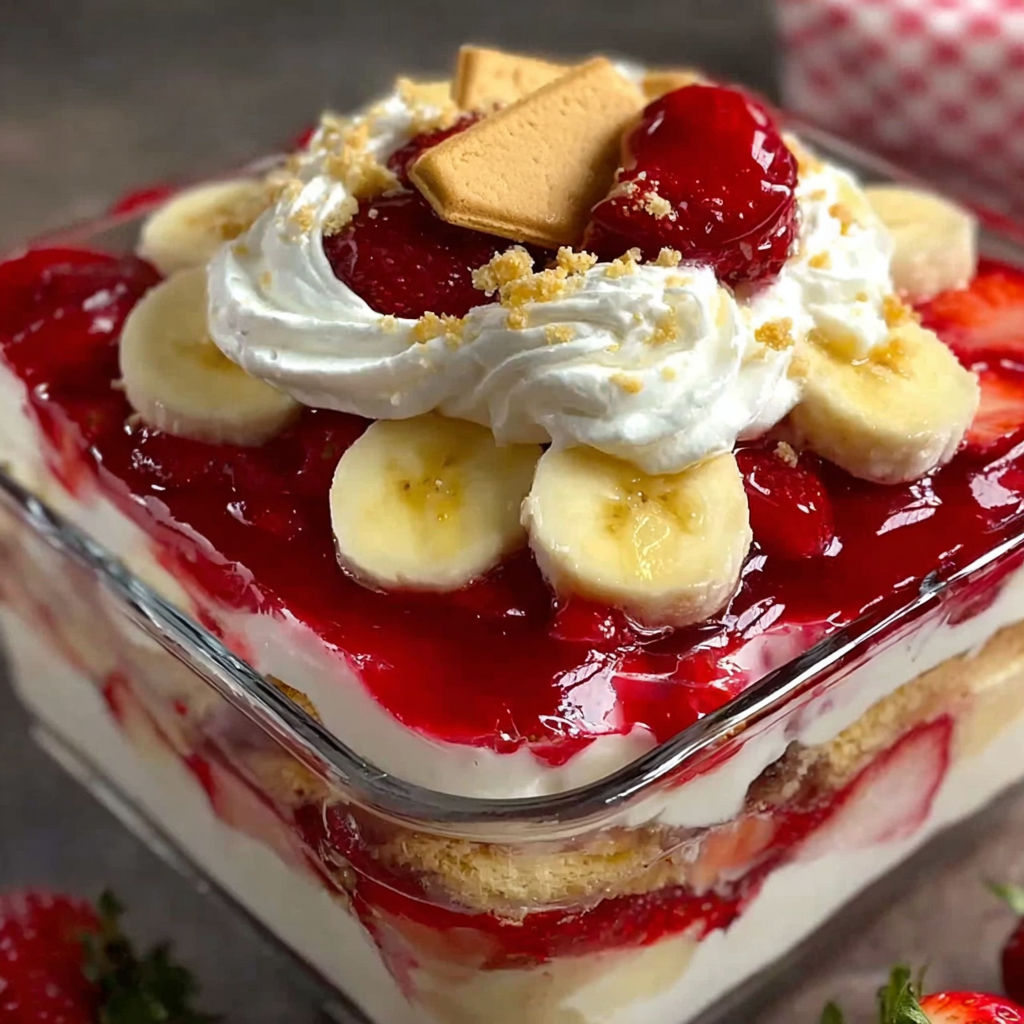
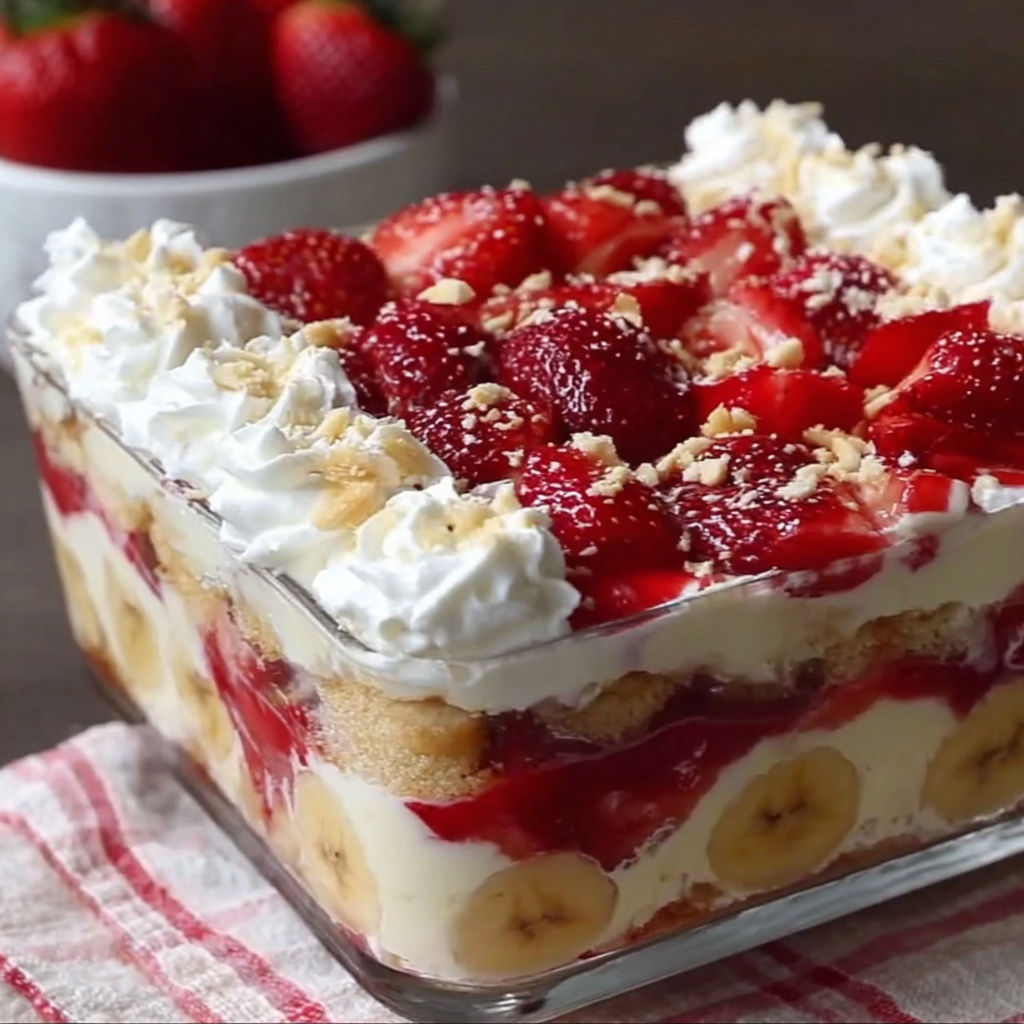
- In a large serving dish choose either a glass trifle bowl or a deep rectangular dish, begin by spreading a single layer of vanilla wafers. Follow this with a generous layer of sliced bananas and then a layer of sliced strawberries evenly covering the wafers.
- Pour Pudding Mixture Over Fruit and Wafers:
- Pour about half of the pudding mixture gently over the fruit and wafers. Use a spatula to smooth it evenly without disturbing the layers below. This layering ensures each bite has a balanced amount of crust, fruit, and pudding.
- Repeat Layers:
- Repeat the process by layering the remaining vanilla wafers, bananas, and strawberries, and then pour the rest of the pudding mixture over the top layer, smoothing it with a spatula so it covers well and looks appetizing.
- Top with Whipped Topping and Chill:
- Spread the whipped topping evenly over the final pudding layer to add lightness and a creamy finish. Cover the dish with plastic wrap and refrigerate for at least four hours. The chilling time allows the wafers to soften and the flavors to meld into a dreamy, spoonable treat.
The cream cheese adds a lovely tang that cuts through the sweetness, making this dessert balanced rather than heavy. One of my favorite family memories with this pudding was a summer picnic when the kids couldn’t wait to dig in after the long wait in the cooler. It felt like the perfect reward for a sunny afternoon.
Flavor Boosters
Serving this dessert chilled on its own, or dressed up with a sprinkle of toasted coconut or chopped nuts on top, enhances its flavor. It pairs wonderfully with a cup of coffee or a light sparkling beverage at brunch or dinner parties.
Serving Suggestions
In summer, fresh berries like blueberries or raspberries mix well with the bananas instead of strawberries. In winter, try sliced pears or canned mandarins for an easy year-round version. Layering mini ginger snaps instead of wafers adds a warm spice hint when the weather cools.
Creative Twists
You can swap the French Vanilla pudding for instant chocolate pudding for a rich twist. Greek yogurt can replace cream cheese for a tangier and lighter version. For a dairy-free option, try coconut milk with dairy-free pudding and whipped topping varieties.
This dessert is perfect for warm days and can be made ahead to let flavors meld beautifully. Just remember to use ripe fruit and chill well for the best texture and taste.
Recipe FAQs
- → Can I use frozen strawberries for this dessert?
Fresh strawberries are preferred for texture, but thawed frozen strawberries can be used if fresh are unavailable. Drain excess moisture before layering.
- → Is it necessary to refrigerate for 4 hours?
Refrigeration allows the layers to set and flavors to meld, so a minimum of 4 hours is recommended for best texture and taste.
- → How can I make this dessert ahead of time?
Prepare the layers and assemble the dessert the day before. Keep it covered in the refrigerator to allow flavors to fully develop.
- → Can other fruits be substituted for bananas or strawberries?
Yes, fruits like peaches, raspberries, or blueberries work well and can offer a unique flavor twist.
- → What is the best way to slice the bananas for layering?
Slice bananas evenly to about 1/4 inch thickness for consistent layering and texture throughout the dessert.