
 Save
Save
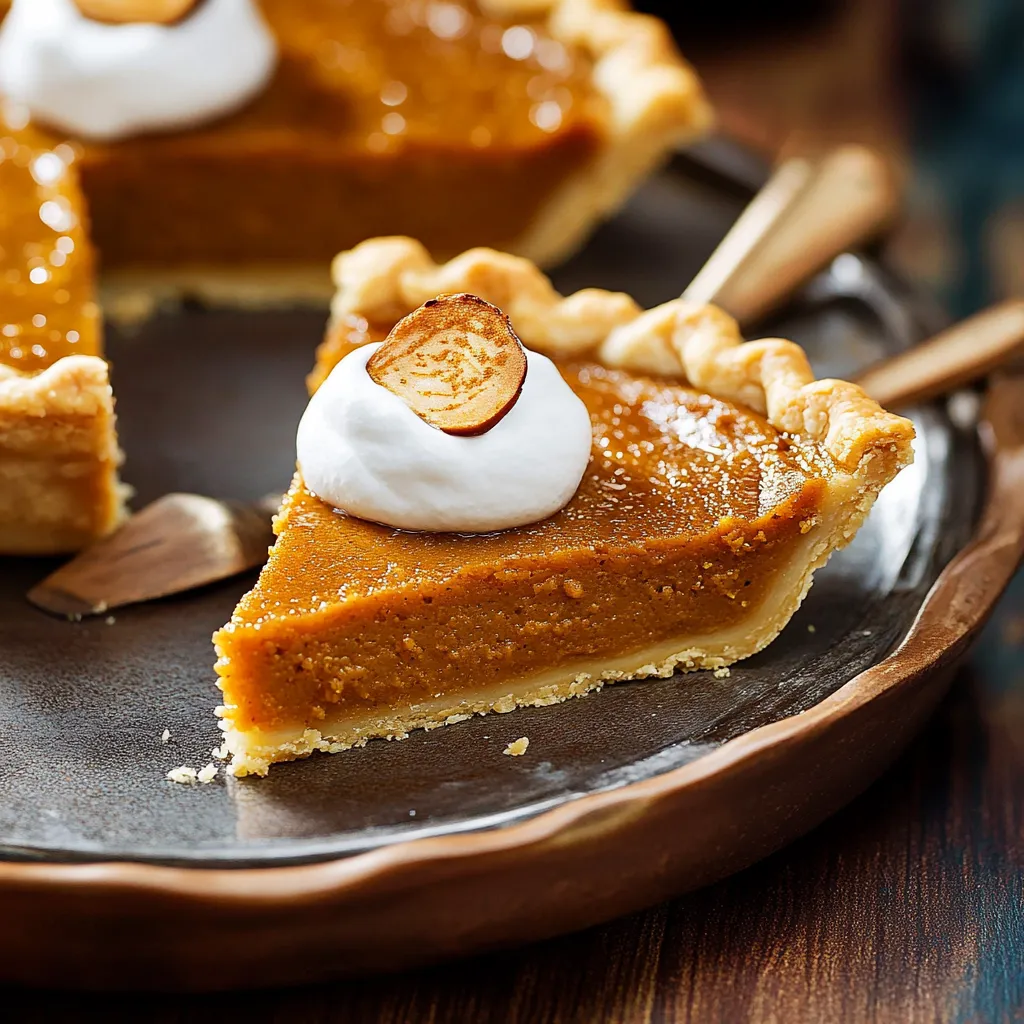
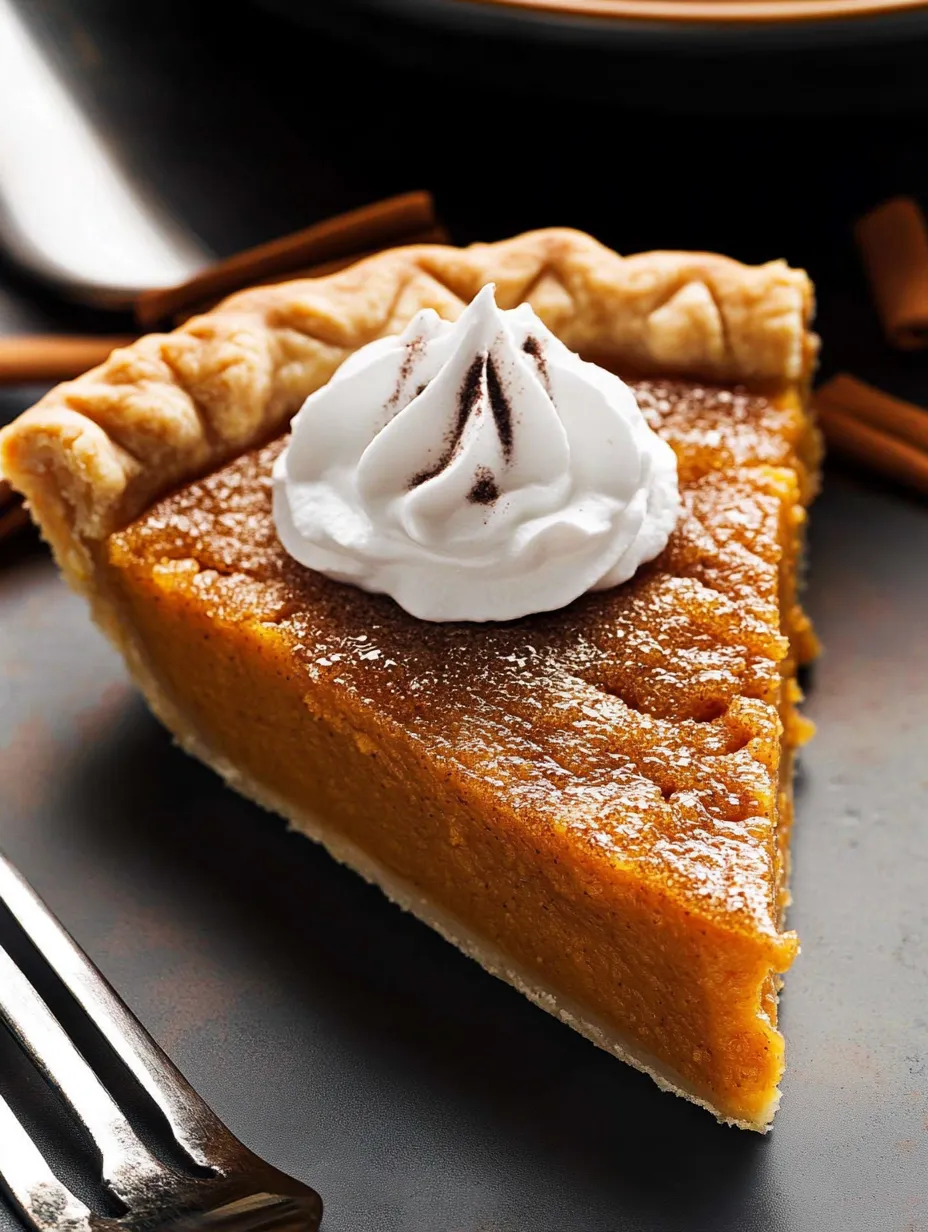
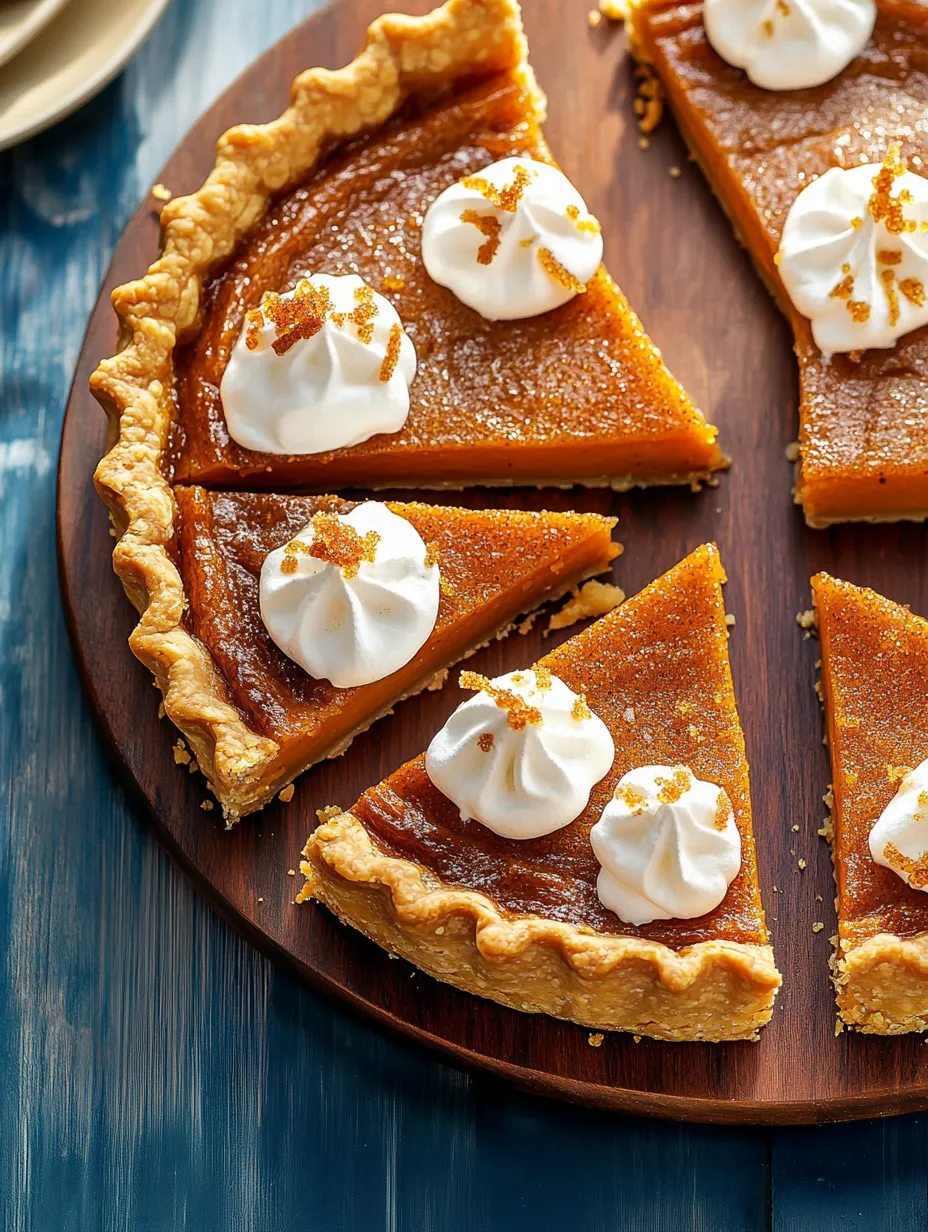
This sweet potato pie has become my signature holiday dessert, combining the natural sweetness of baked sweet potatoes with warm spices and a flaky crust that never fails to impress guests.
I first made this pie when looking for alternatives to the traditional pumpkin pie for Thanksgiving. My grandmother tasted it and declared it better than her 50 year old recipe which might be the greatest culinary compliment I have ever received.
Ingredients
- Sweet Potatoes choose firm medium sized potatoes with reddish skin for the best flavor and texture
- Unsalted Butter room temperature butter ensures a creamy smooth filling and rich mouthfeel
- Granulated Sugar provides classic sweetness that balances the earthiness of the potatoes
- Brown Sugar adds complex molasses notes that enhance the warm spice profile
- Whole Milk creates the perfect creamy consistency look for organic if possible
- Large Eggs they bind the filling and provide structure during baking
- Vanilla Extract use pure not imitation for the most authentic flavor
- Ground Cinnamon freshly ground cinnamon provides warming notes essential to the pie
- Ground Nutmeg fragrant and slightly sweet it pairs perfectly with sweet potatoes
- Salt enhances all the flavors and balances sweetness
- Ground Cloves just a pinch adds incredible aromatic depth
- Unbaked Pie Crust homemade produces the best results but quality store bought works well
- Whipped Cream or Cool Whip the perfect creamy topping that cuts through the richness
- Marshmallow Fluff creates a nostalgic nod to classic sweet potato casserole when toasted
Step-by-Step Instructions
- Bake the Sweet Potatoes
- Wrap sweet potatoes completely in foil to trap moisture and place them on a cookie sheet to catch any juices that might escape. Bake at 400°F for 45 minutes or until completely tender when pierced with a fork. Larger sweet potatoes may require up to an hour. Allow them to cool completely before moving to the next step this prevents the eggs from cooking prematurely when mixed into the filling.
- Prepare the Filling
- Once cooled remove the sweet potato skins they should slide off easily. In a large bowl mash the sweet potatoes with room temperature butter until absolutely no lumps remain. This is crucial for a silky smooth pie. Whisk in both sugars first before adding the milk eggs vanilla and spices. Continue whisking until the mixture is completely uniform in color and texture which might take 2 to 3 minutes by hand.
- Bake the Pie
- Pour the prepared filling into your unbaked pie crust smoothing the top with a spatula. Place in a preheated 350°F oven on the middle rack. Bake for 50 to 60 minutes watching for the center to set. You will notice the pie will puff up slightly during baking this is normal. A toothpick inserted into the center should come out clean or with just a few moist crumbs when done.
The secret to this recipe is truly in the quality of your sweet potatoes. I discovered that the deeper orange varieties often labeled as garnet or jewel sweet potatoes yield the most vibrant color and sweetest flavor. My grandmother always said a good sweet potato pie should make you close your eyes when you take the first bite and this recipe accomplishes exactly that.
Storage and Freshness
This sweet potato pie keeps beautifully in the refrigerator for up to 4 days. Cover loosely with foil rather than plastic wrap to prevent condensation from making the crust soggy. For longer storage you can freeze the completely cooled pie for up to 2 months. Thaw overnight in the refrigerator before serving. I find the flavor actually deepens after a day in the refrigerator making this an ideal make ahead dessert for busy holiday gatherings.
Perfect Pairings
Sweet potato pie stands beautifully on its own but transforms into something truly special with thoughtful accompaniments. Serve warm slices with a scoop of vanilla bean ice cream for a delightful temperature contrast. For a more adult version try adding a drizzle of bourbon caramel sauce or serving alongside a glass of tawny port. During fall gatherings I often create a dessert board with this pie alongside apple crisp and pecan cookies to satisfy different sweet preferences.
Historical Context
Sweet potato pie holds deep cultural significance particularly in Southern and African American culinary traditions. Dating back to early American history when sweet potatoes were more readily available than pumpkins in southern states the dish evolved from African cooking techniques combined with European pie making. Many families have passed down recipes through generations with each adding their own special touches. This version honors those traditions while incorporating modern techniques for consistency and flavor enhancement making it a bridge between heritage and contemporary baking.
Recipe FAQs
- → Can I use canned sweet potatoes instead of fresh?
Yes, you can substitute canned sweet potatoes. Drain them well and use about 2 cups of mashed canned sweet potatoes. The texture might be slightly different, but the flavor will still be delicious.
- → How do I know when my sweet potato pie is done baking?
Insert a toothpick into the center of the pie - it should come out clean when the pie is done. Additionally, the pie will rise during baking and then deflate as it cools, which is normal.
- → Can I make this pie ahead of time?
Absolutely! This pie can be made 1-2 days in advance. Store it covered in the refrigerator and bring to room temperature before serving, or serve chilled.
- → What's the difference between sweet potato pie and pumpkin pie?
While similar in appearance, sweet potato pie has a denser, creamier texture and more naturally sweet flavor compared to pumpkin pie. The spice profiles are similar, but sweet potato pie typically has a richer, more complex taste.
- → Can I freeze sweet potato pie?
Yes, sweet potato pie freezes well. Bake and cool completely, then wrap tightly in plastic wrap and aluminum foil. Freeze for up to 2 months. Thaw overnight in the refrigerator before serving.
- → Is there a dairy-free alternative for this pie?
You can substitute the whole milk with coconut milk or almond milk, and replace the butter with a plant-based butter alternative for a dairy-free version.